Here is some of the materials and tooling to make a cone union. The taps are 3/8"-24, plug and bottoming. The round stock is for the cone, it is marked 5/16", but, should be 3/8".
This will be the nut. It is first drilled deep enough for the length of the nut with the clearance size drill for the cone, a letter "M" drill.
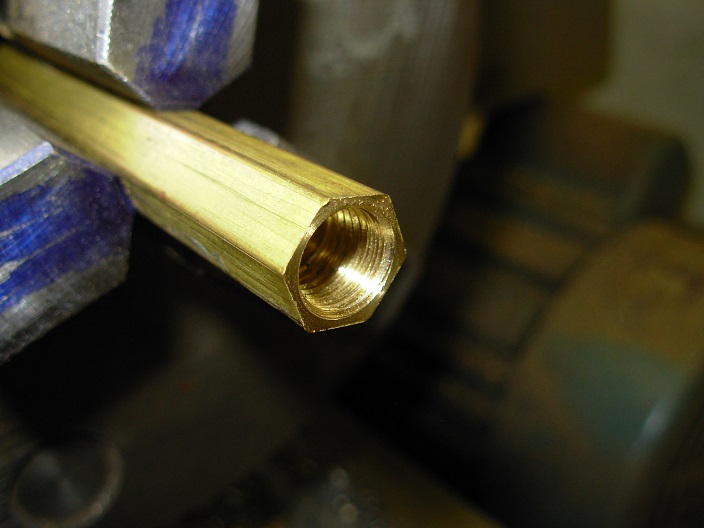
This hole will have the threads of the nut, and also create the shoulder that will clamp on the cone.
The hole is given a generous chamfer for the thread. I usually turn the chuck by hand for this to avoid chatter.
When the tap spins in the drill chuck, remove the plug tap and follow with the bottoming tap.
The thread is now finished and the through hole for the cone is finished.
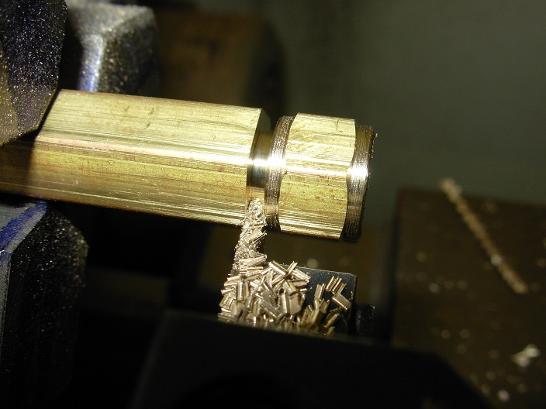
Before parting off the nut, I like to dress up the front and back side of the nut a little. It is not necessary, but is an easy way to make it look nice. The turned area is only deep enough to remove the hex.
Before parting off, break all sharp corners with a small Swiss file.
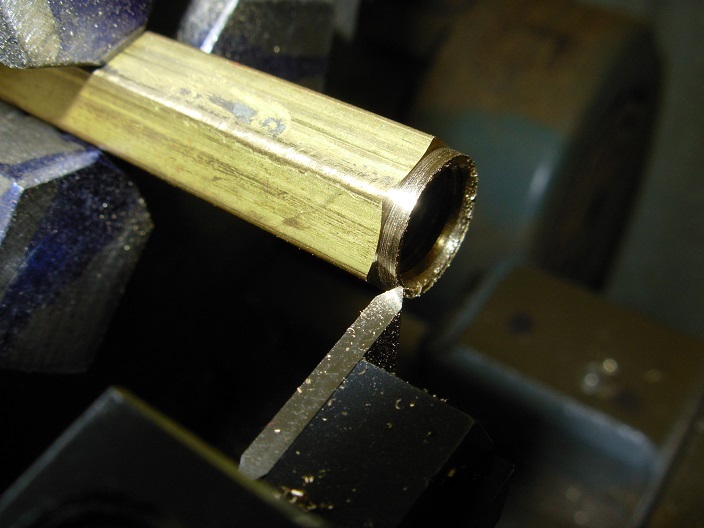
The through hole might need additional deburring on the inside. You can pull the letter M drill through the hole to get this last bit.
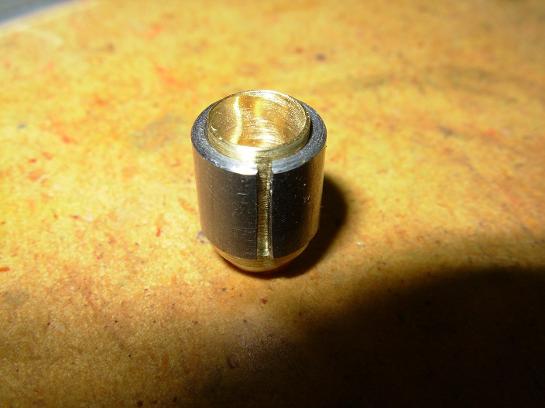
Here's the other end of the nut. The cone will fit through this hole.
This part also gets drilled through with a 7/32" drill bit. The blue layout dye is so I can see the threads better when cutting them.
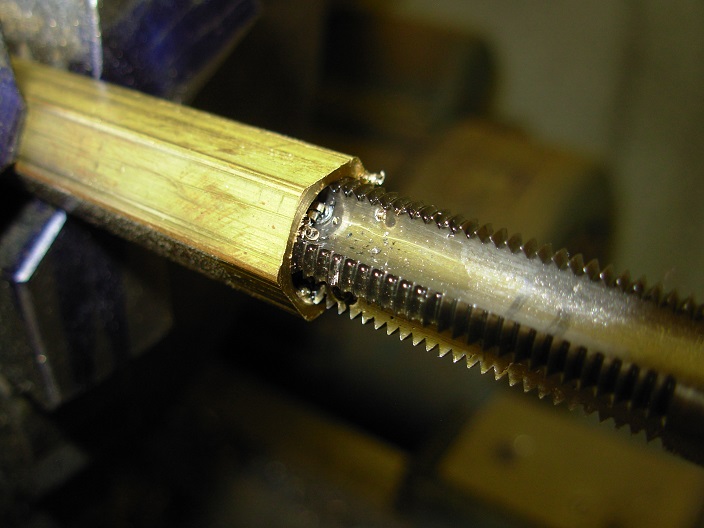
Here is the finished thread. This "how to" is not about cutting threads, that would have to be a separate page altogether.
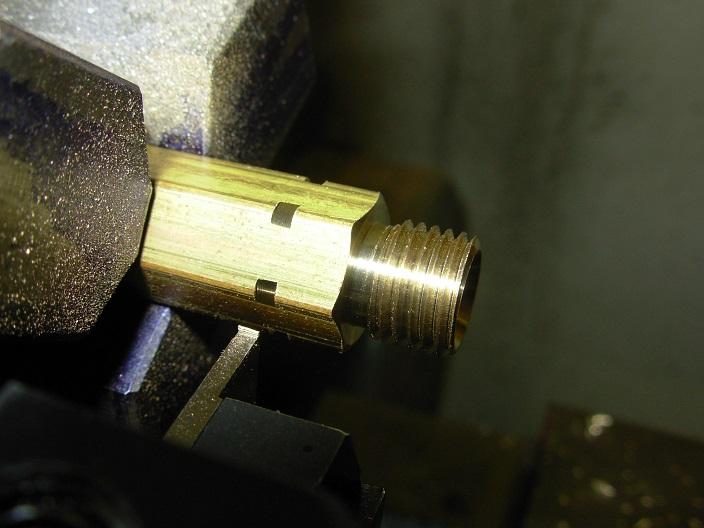
Before parting off, chamfer the hex with the 60 degree threading tool.
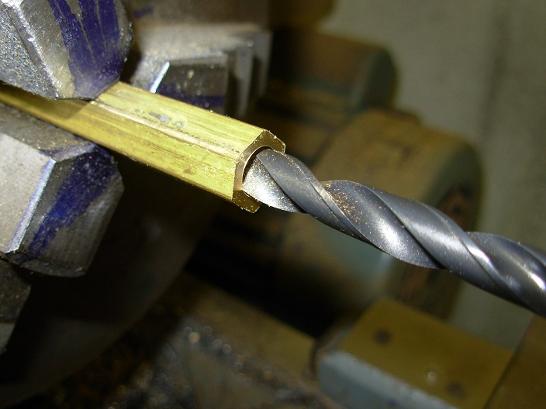
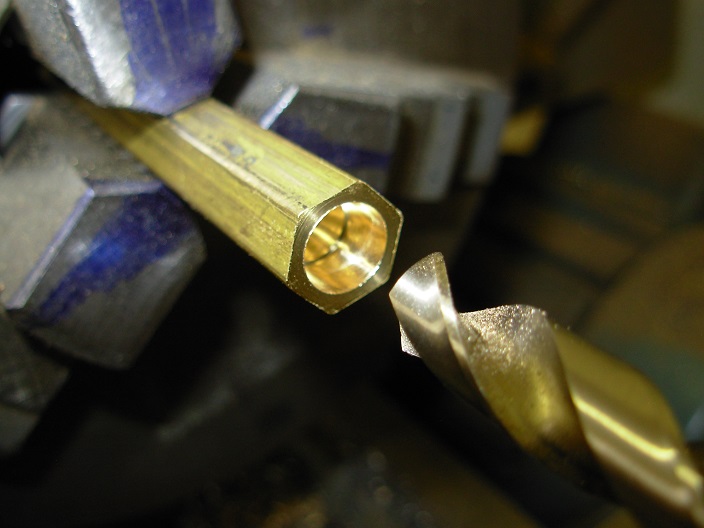
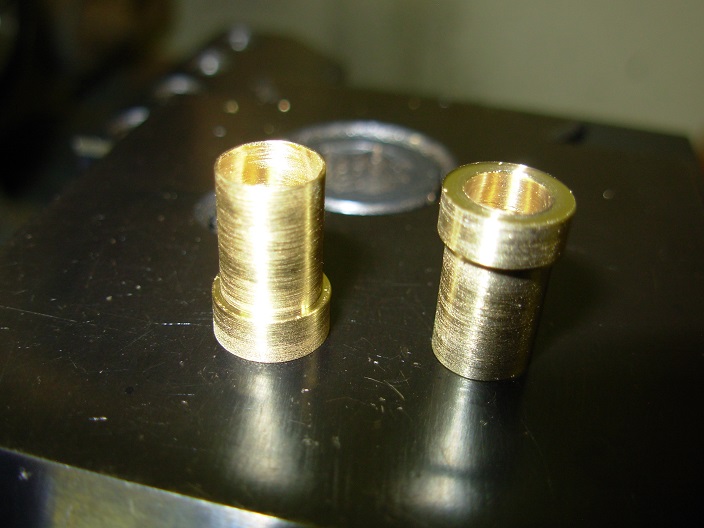
This end is drilled for the 1/4" tube. This part is finished.
The cone has a 7/32" hole drilled all the way through, and a 1/4" hole 3/8" deep for the tube.
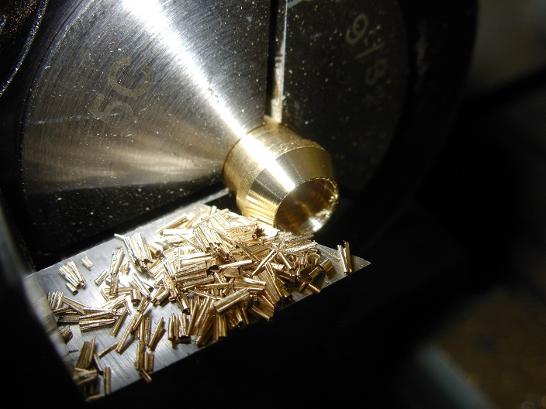
Here are two cones ready to be "coned".
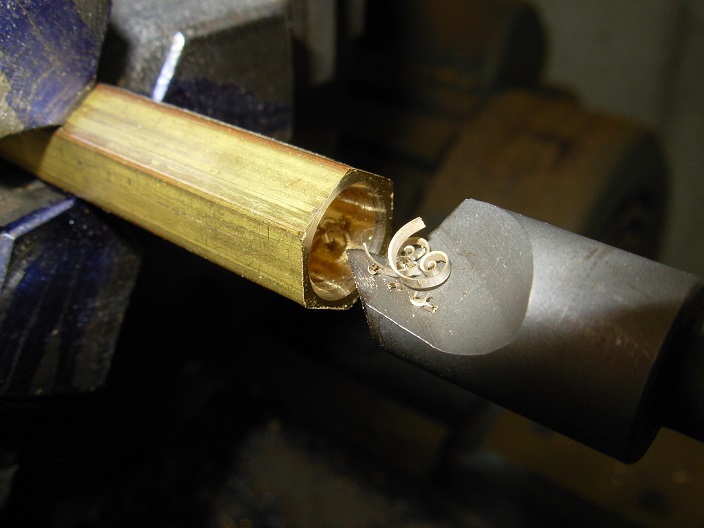
The cone is cut until it almost meets the bore.
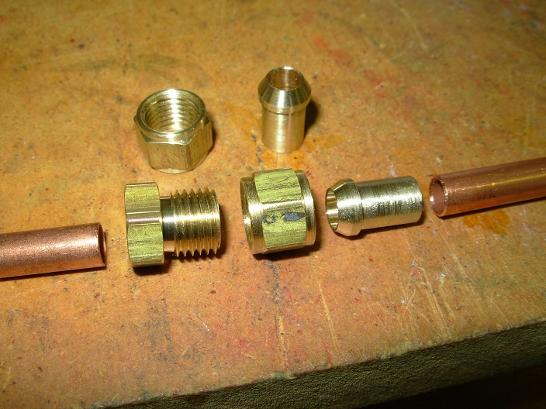
Here's all the finished pieces lined up. The extra nut and cone above.
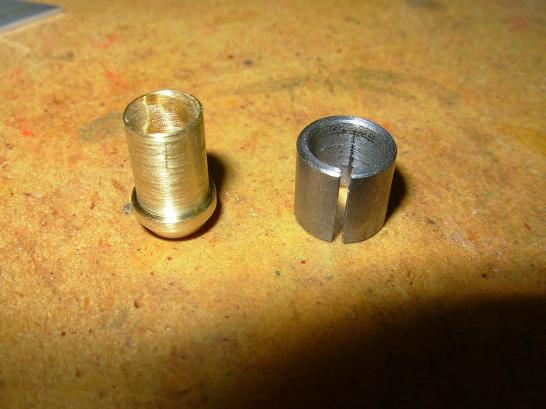
Cones can be reused if the old pipe is cut off very near the cone. The cone then can be put in a split bushing and turned in the lathe.
This will be a union for 1/4" tube. The hex is 7/16" across the flats. The end is faced and center drilled. It needs to be no more than a small dimple in the end of the material.
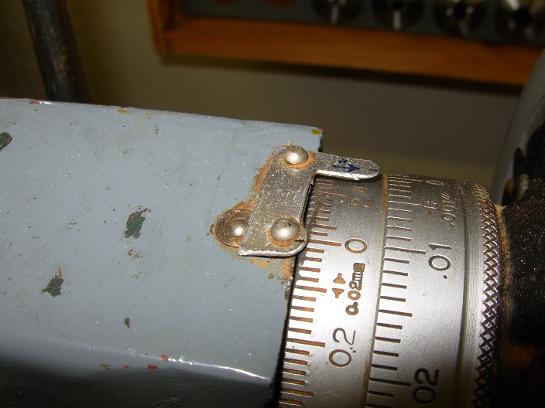
Next, it is drilled with the tap drill for a 3/8"-24 thread. To accurately drill holes to depth, use the graduations on the tail stock hand wheel.
The shoulder, to be an effective clamp for the cone, needs the hole to have a flat bottom. So, the hole is finished to depth with a drill that has been ground to make a flat bottom hole. The drill was ground off hand on a grinding wheel
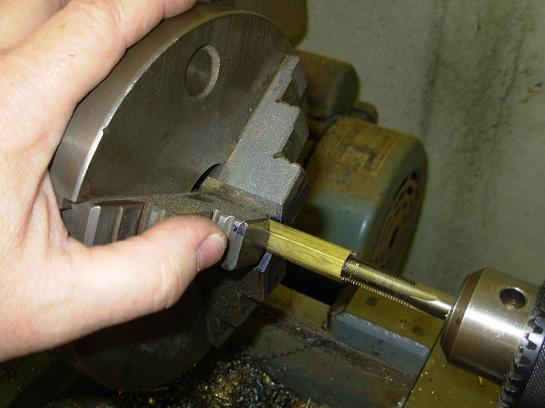
The 3/8"-24 tap is put into the tail stock. The drill chuck is tightened only by hand, and the work is turned slowly by hand.
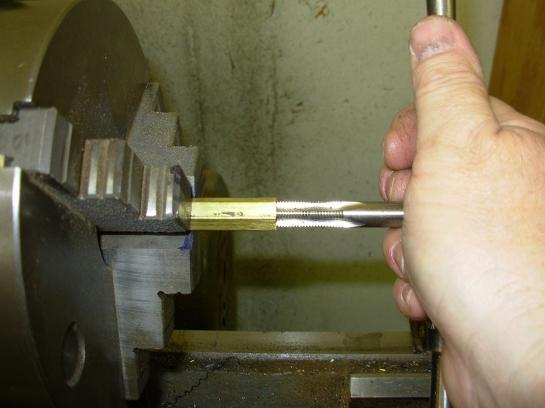
Finish tapping to the bottom of the hole with a handle on the tap. All of this is done by hand,with the power off to the lathe.
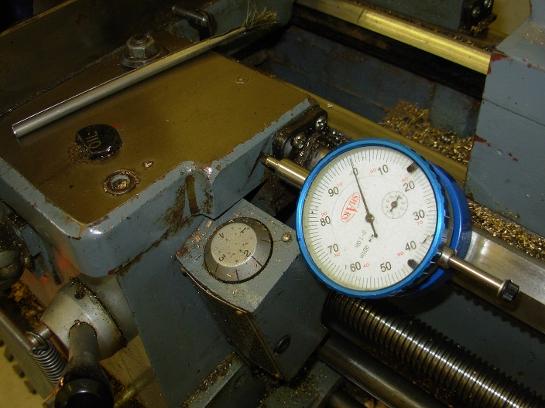
Now, put a dial indicator against the saddle of the lathe to keep track of longitudinal travel.
This is done with a 60 degree threading tool. The dial indicator is to make sure you get these relieved areas in the right places. I make them about .050" wide for this size nut.
The small end of the through hole usually needs to have the burr removed. I do this by hand with a countersink bit held in a drill chuck.
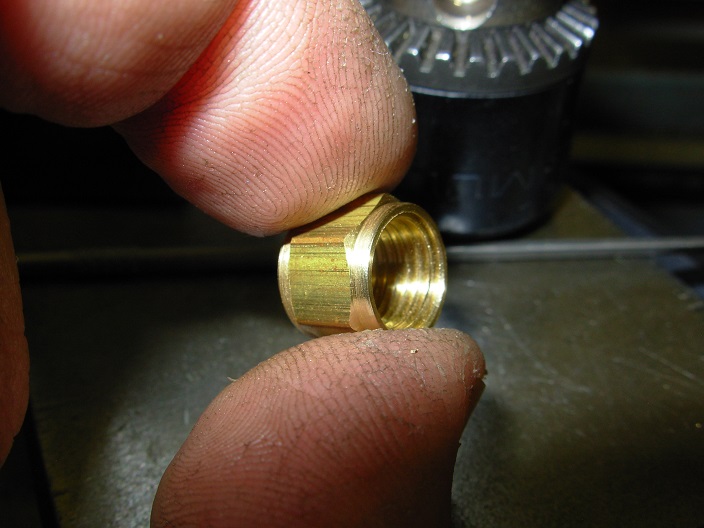
Here's the finished nut looking at the threaded end.
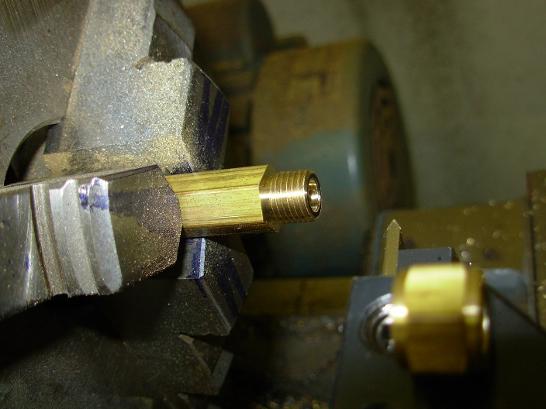
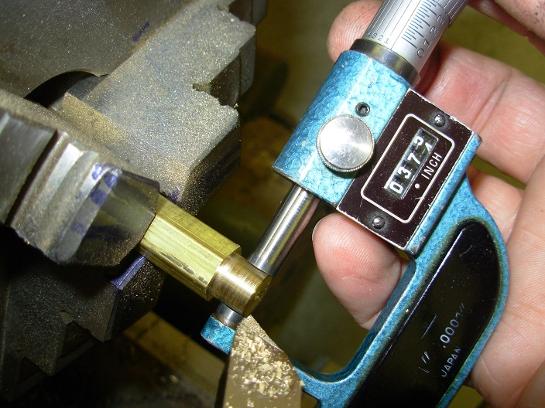
With the nut finished, it's time to make the male threaded end on the union. The 7/16" hex is turned to a diameter of 3/8" for a length of 5/16".
I like to single point cut the threads, but, a tailstock die holder will work also.
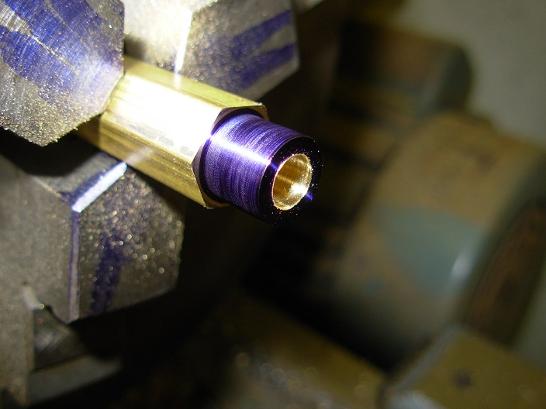
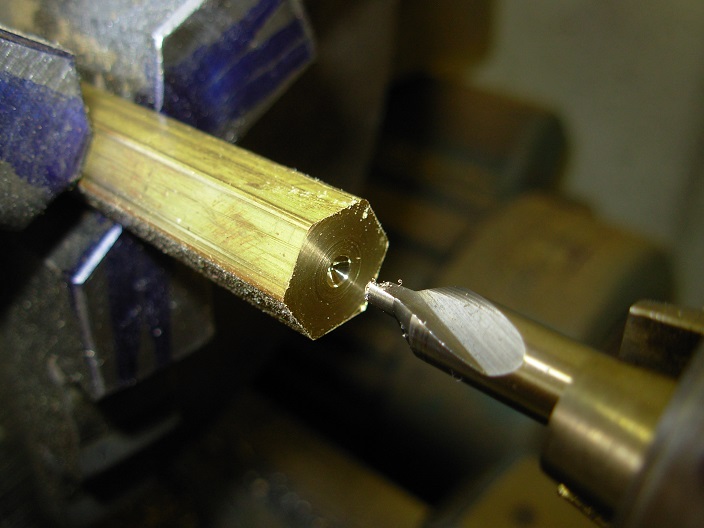
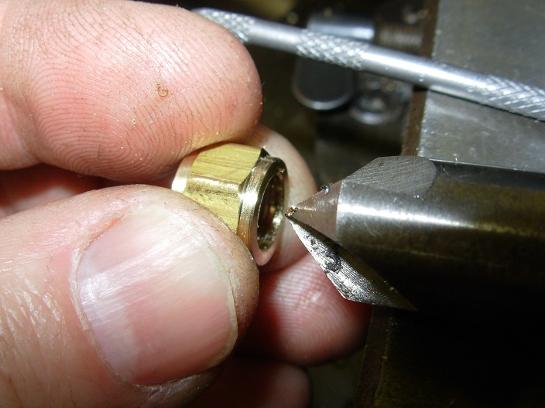
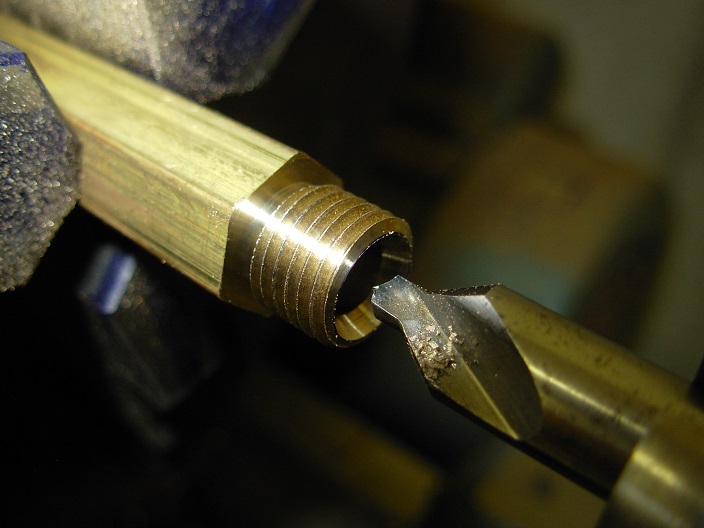
The female part of the cone union is on this part. It is easily cut with a 60 degree center drill.
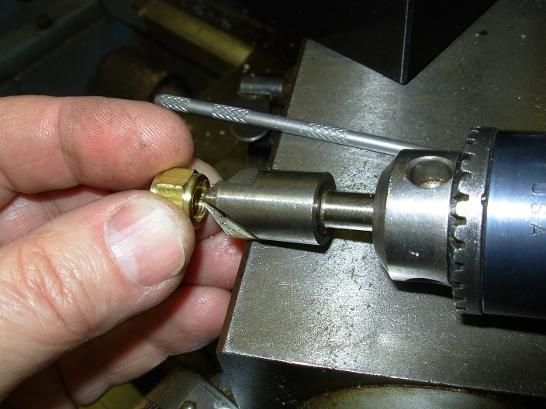
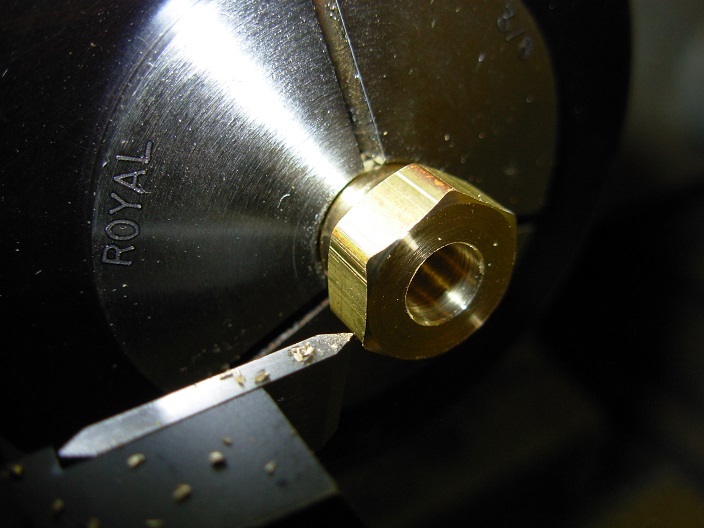
After parting off, I re-chuck the part in a 3/8" 5C collet. This can be done without damage to the threads. The other end of the hex is chamfered.
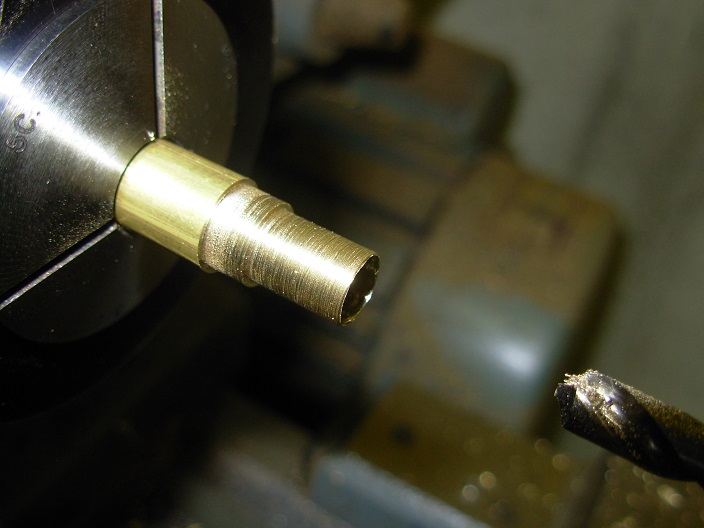
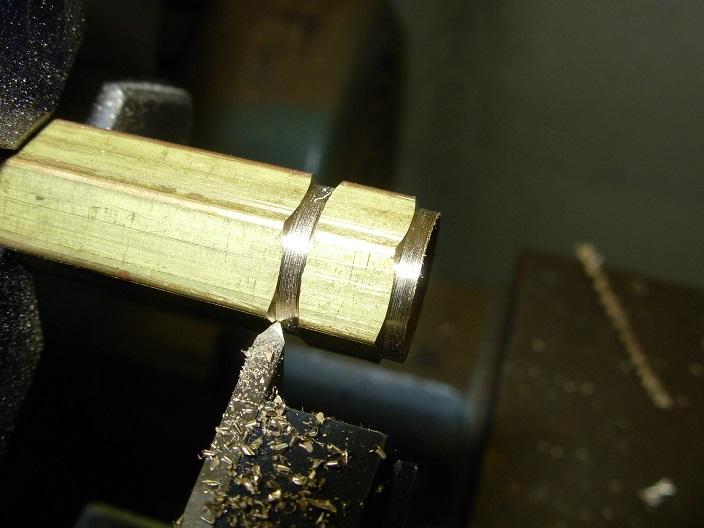
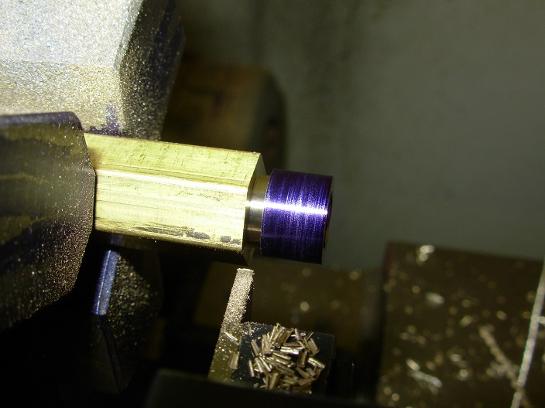
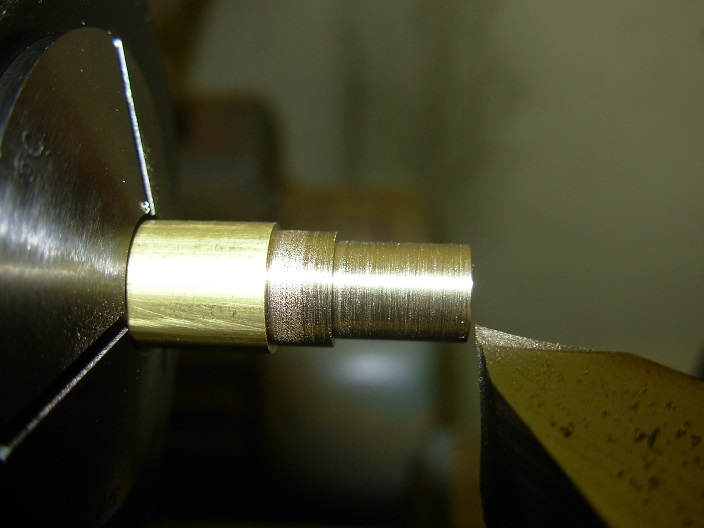
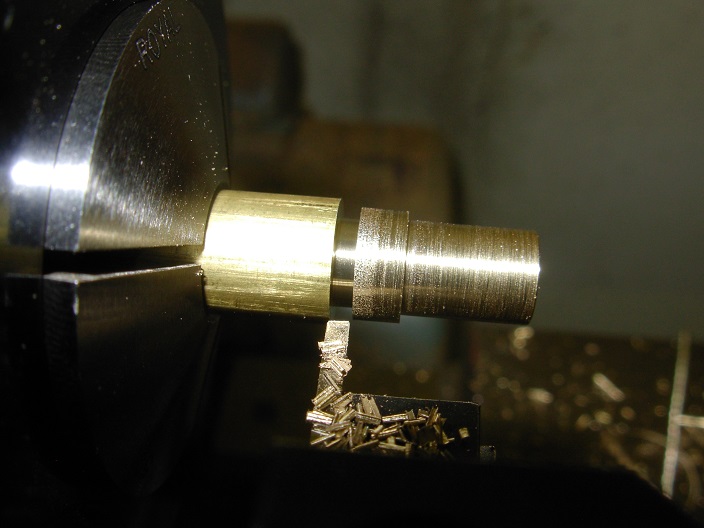
Now, a piece of 3/8" brass is turned with two diameters. The large diameter is for the cone, and the smaller is for the 1/4" tube.
Before parting off, break sharp corners with a small Swiss file.
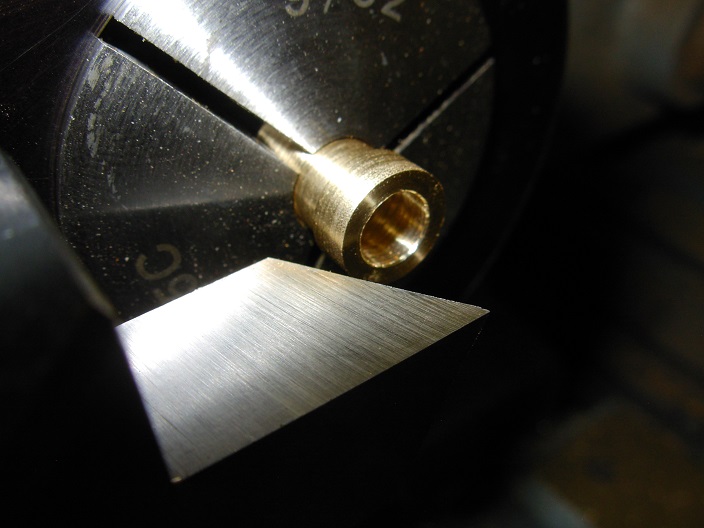
The cone can be cut with the top slide of the lathe, but, it is much easier and quicker to have a tool ground to the correct angle.
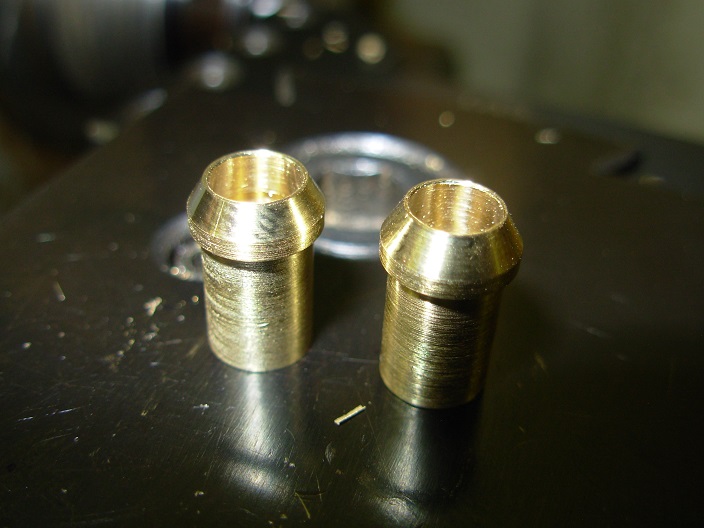
A pair of finished cones.
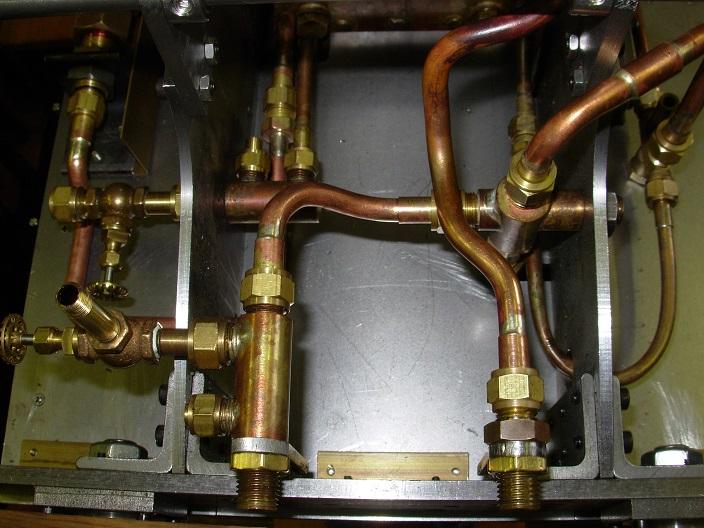
Here's the pieces assembled with short pieces of 1/4" copper tube in each end. The copper tube would be silver soldered to the fittings.
The split bushing allows the end to be faced and the cone to be re-drilled to remove old copper tubing.