Steam Pipes, Smoke Box, Lubricator & Saddle with Modification
Following, is the steam pipes and smoke box construction.
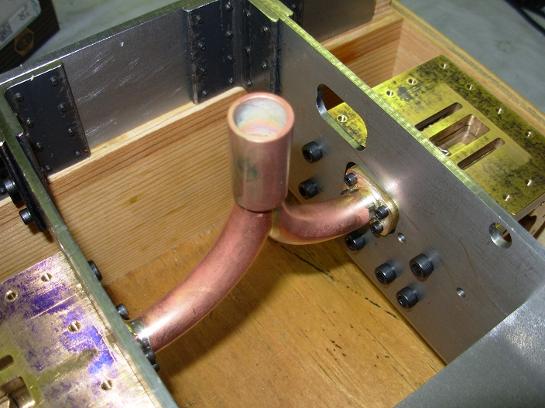
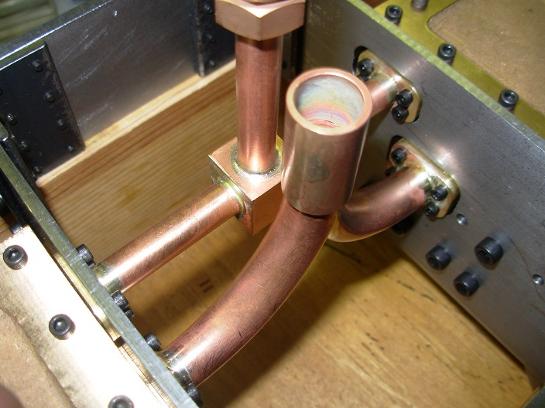
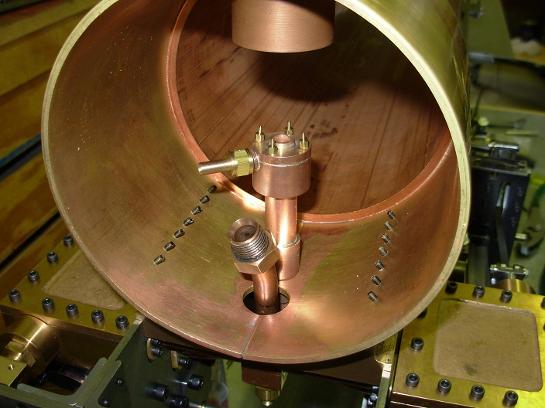
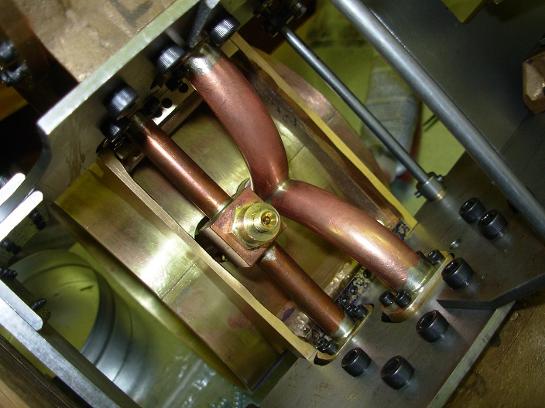
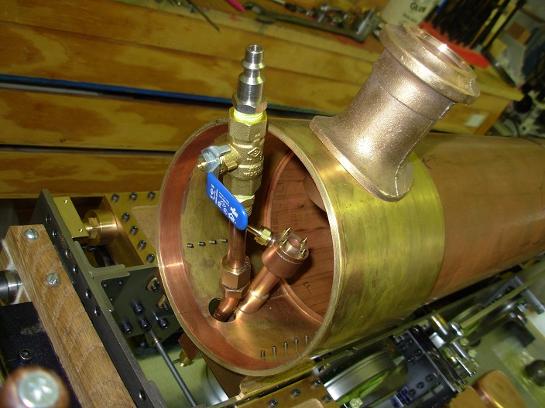
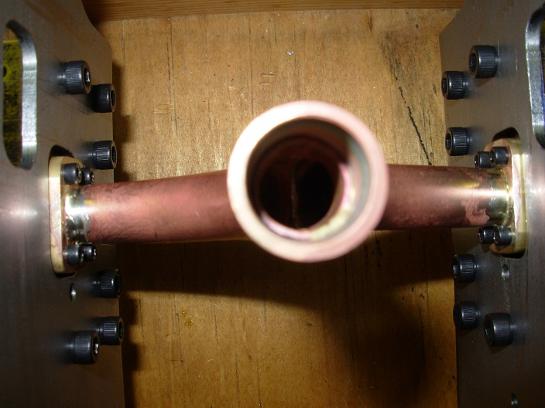
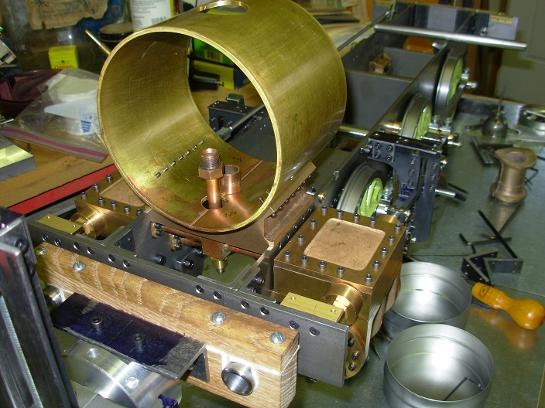
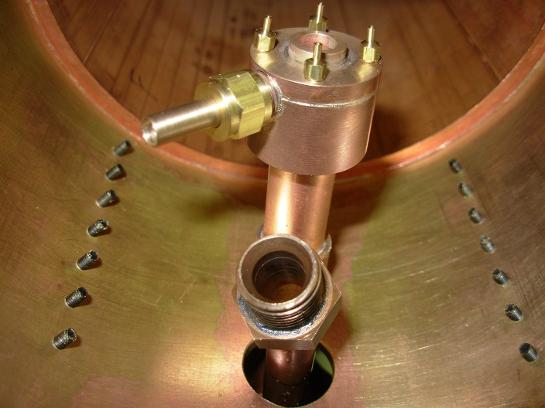
This is the exhaust pipes and steam supply pipes for the cylinders.
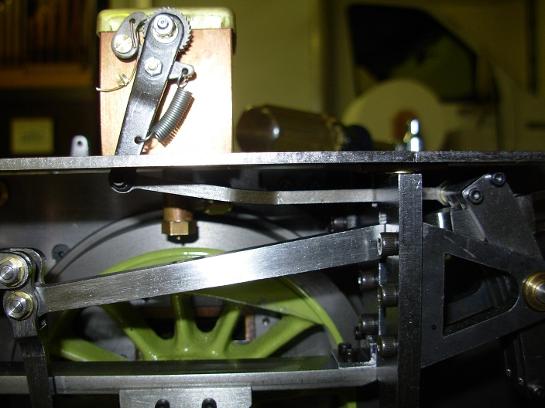
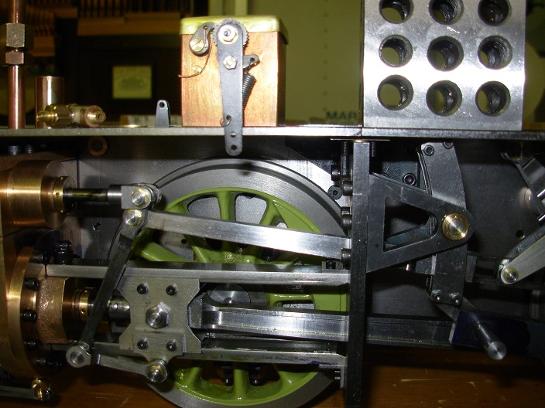
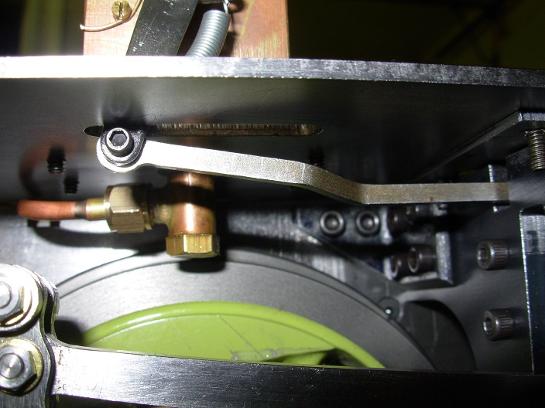
The lubricator pump is mounted on the left hand running board.
The pump rod is tucked safely inboard.
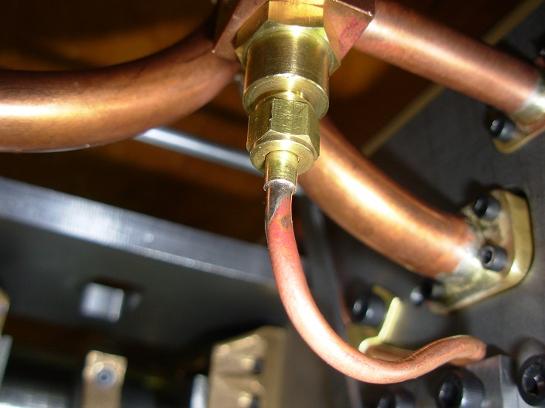
The pipe from the check valve goes to the discharge of the lubricator pump.
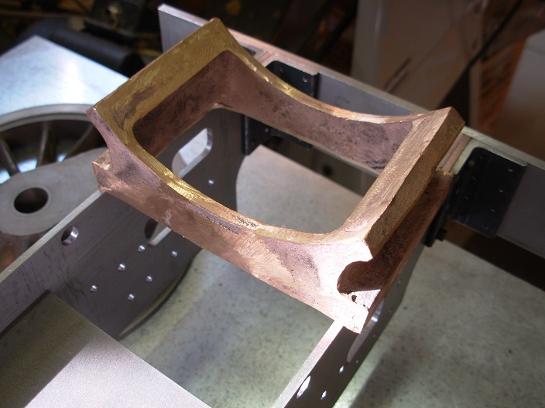
This is the un-machined smoke box saddle. It must be modified to fit between the frames.
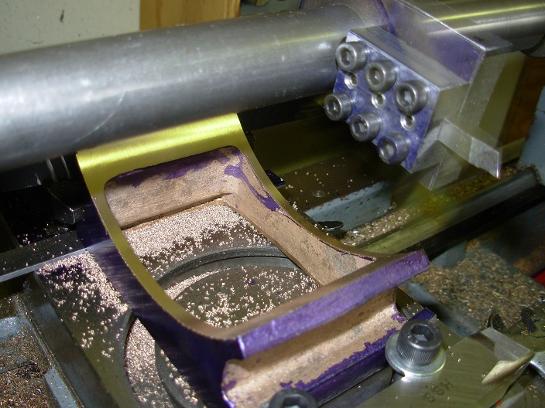
The sides of the saddle had to be cut away and a new piece of metal inserted at the correct distance.
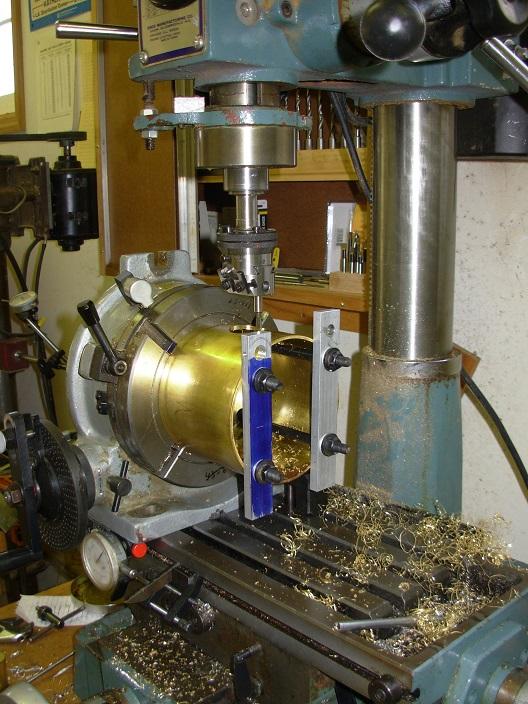
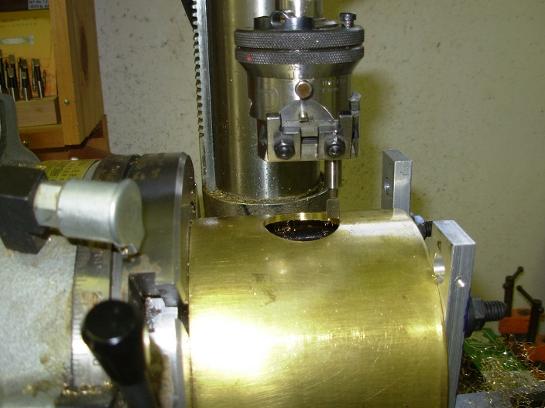
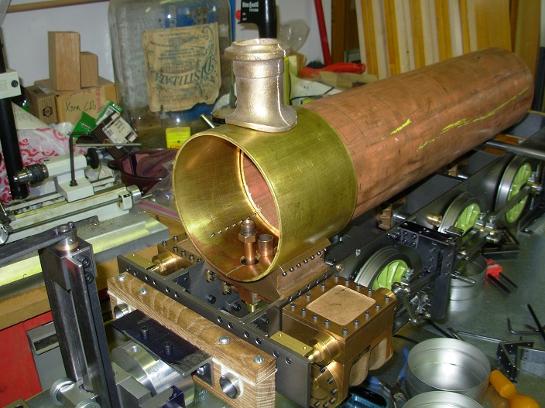
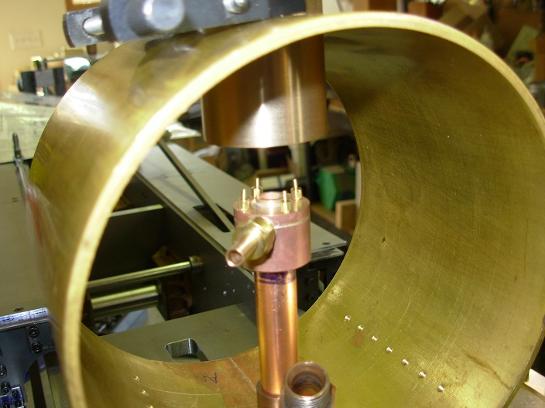
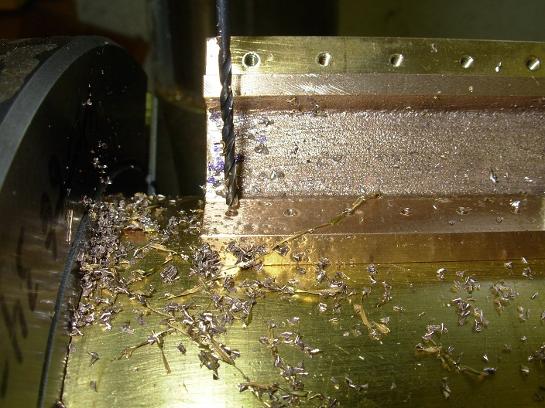
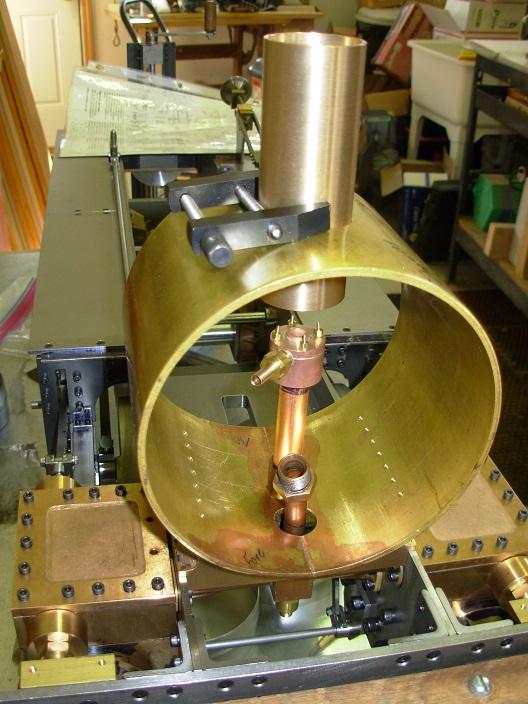
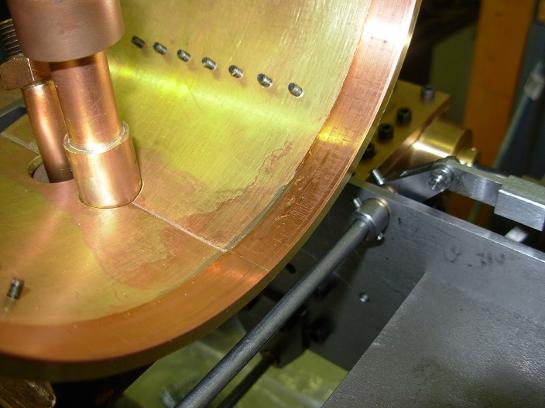
The smoke box is being bored out for the smoke stack.
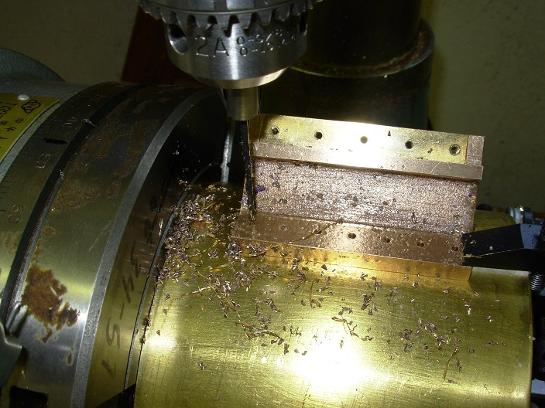
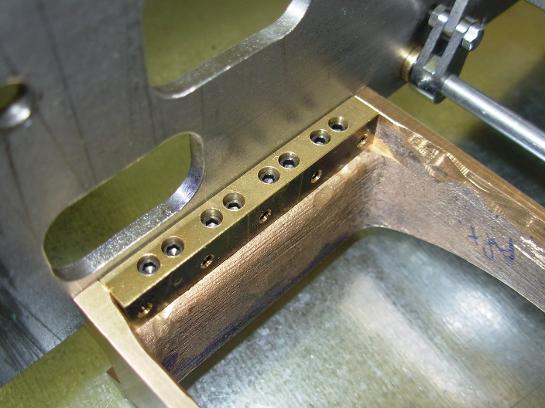
The saddle is being match drilled to the smoke box.
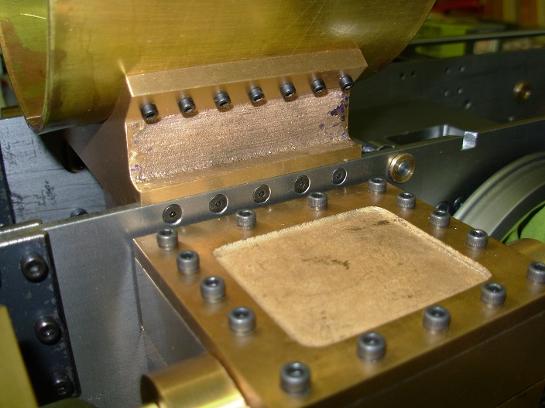
Lots of screws! The screws going into the smoke box were replaced with stainless steel.
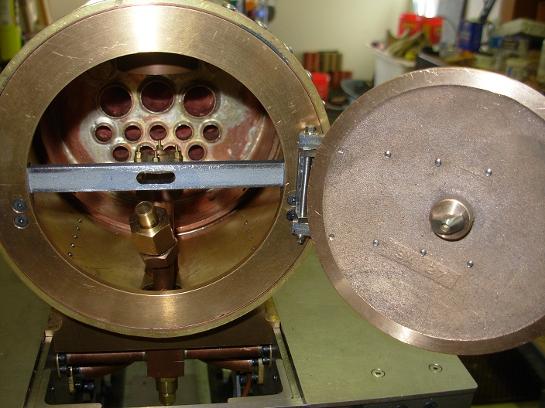
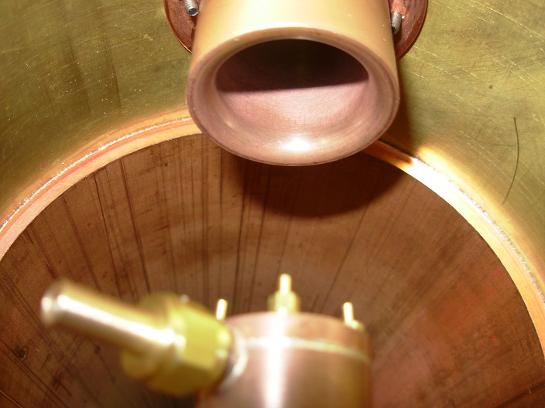
Blast pipe nozzle and blower ring installed.
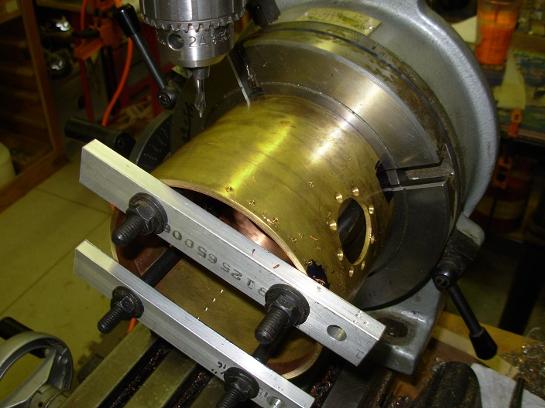
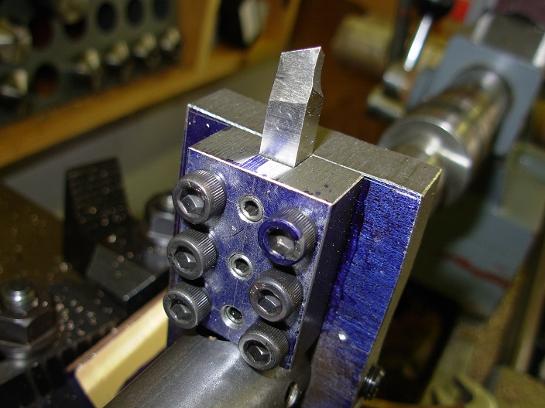
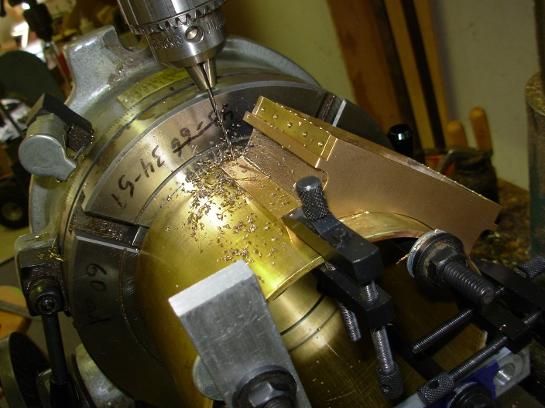
Tool setup for machining the radius on the smoke box saddle.

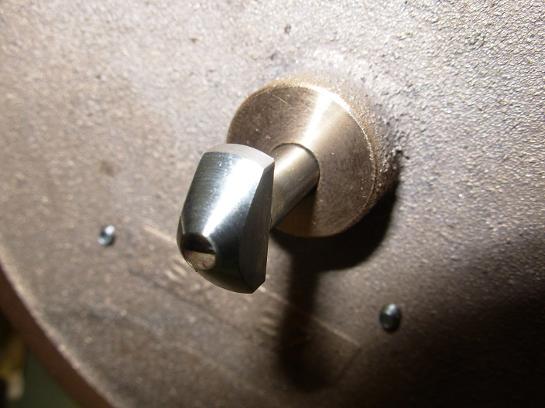
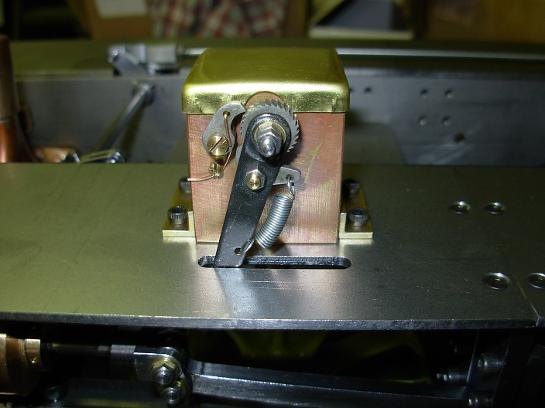
Test throttle for compressed air.
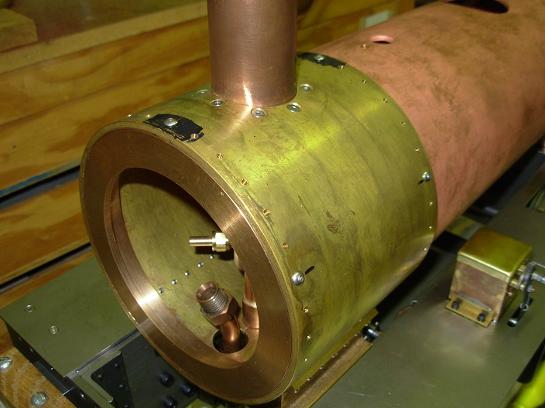
Only 5 of the screws in smoke box actually go into the door ring and 5 into the boiler.
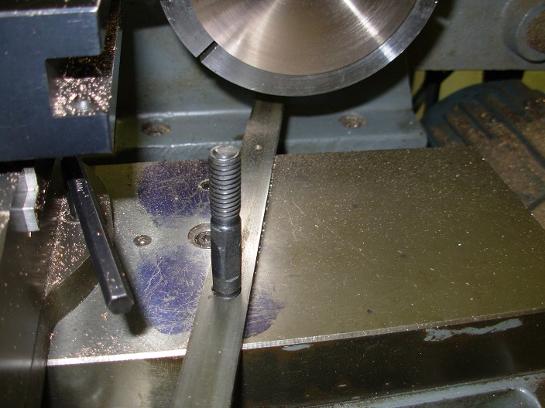
The use of a bar between the carriage and the head stock is used to create the large radius.
The top slide is set to zero degrees and is use to feed the tool towards the work.
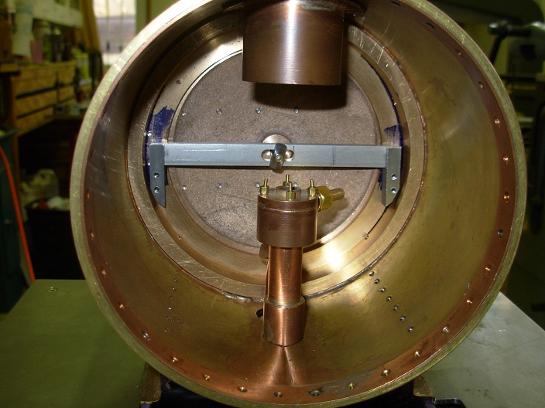
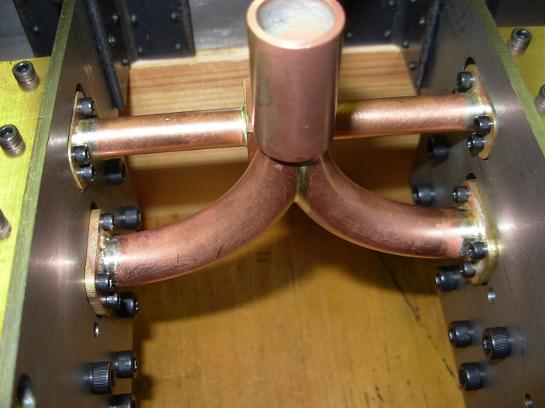
The exhaust pipes have a sweeping shape to them so there is little back pressure as the cylinders exhaust.
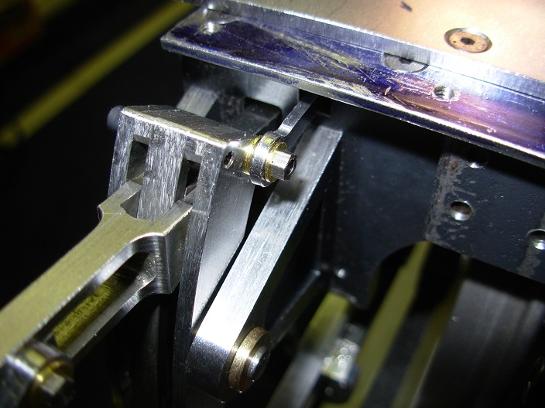
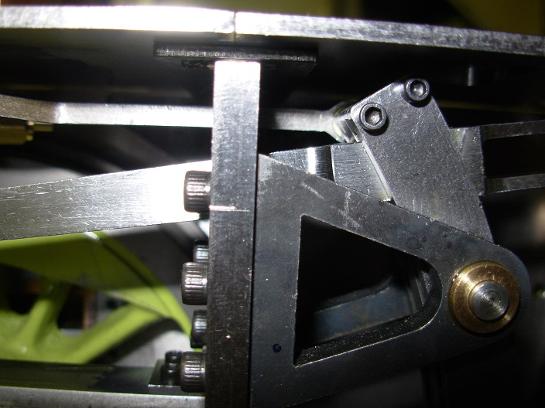
The pump is operated by movement of a rod connected to the top of the expansion link.
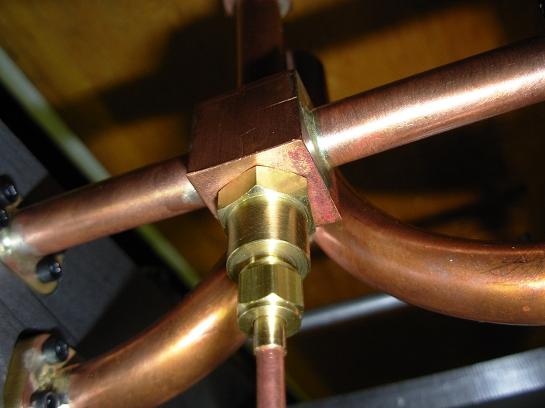
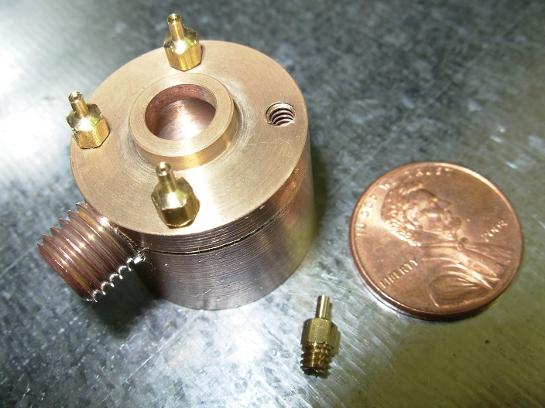
The center of the steam supply "T" contains a check valve for the steam oil coming from the lubricator pump.
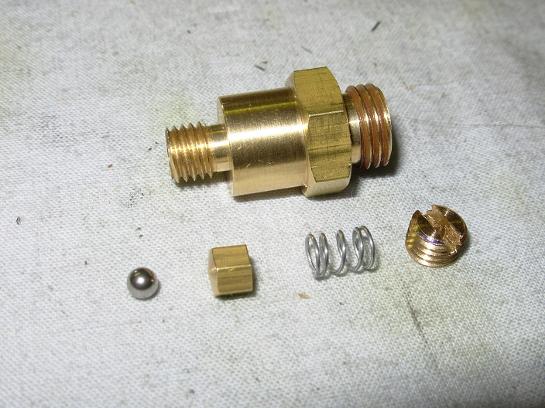
Here are the parts that make up the steam oil check valve.
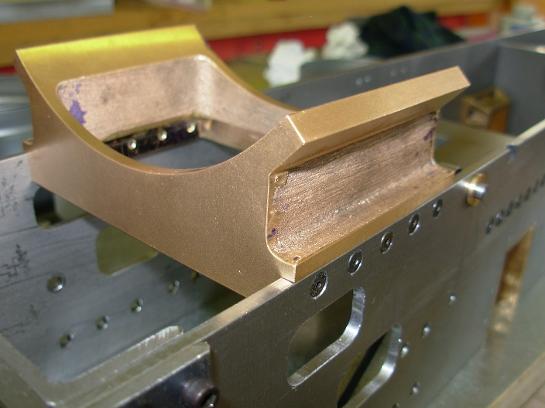
It was a pretty easy modification to make the saddle fit the frames.
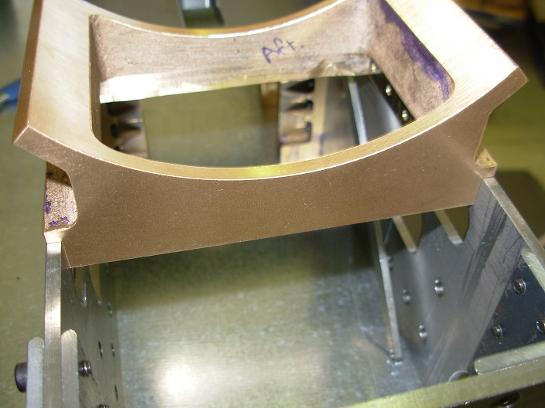
Here you can see how the saddle fits in between the frame members.
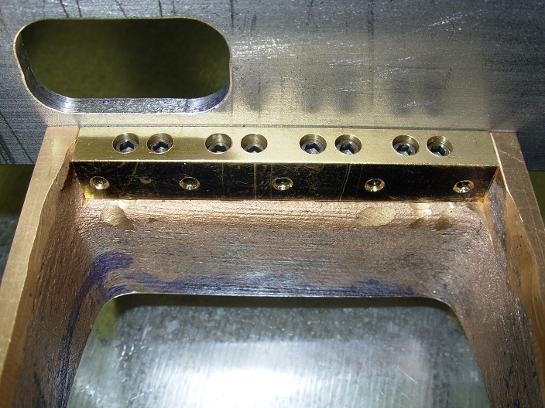
The new edge piece under the saddle is held in place by several screws.

Blast nozzle/blower ring with a single jet removed.
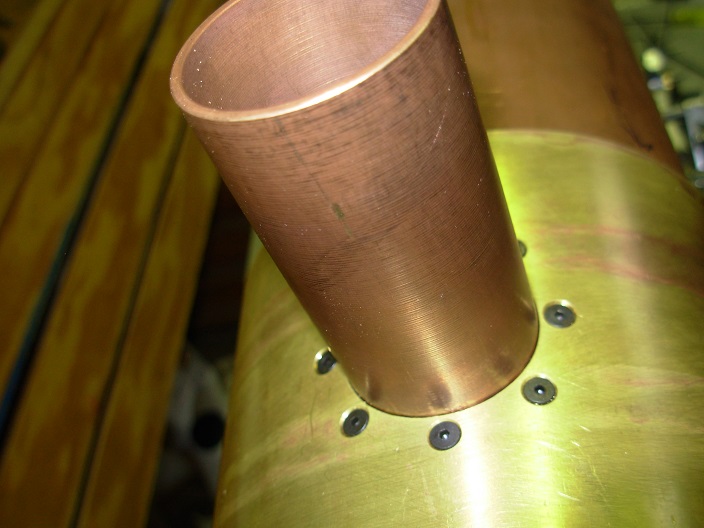
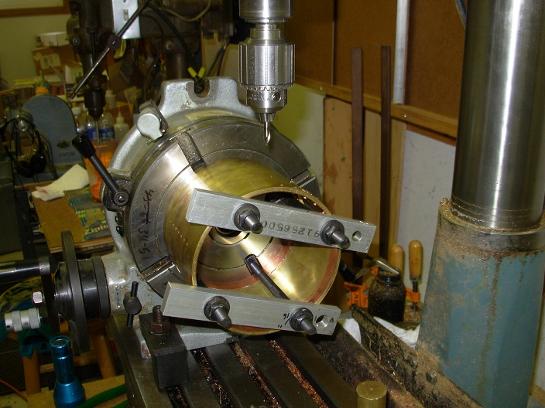
Smoke box screws for door ring and boiler being drilled.
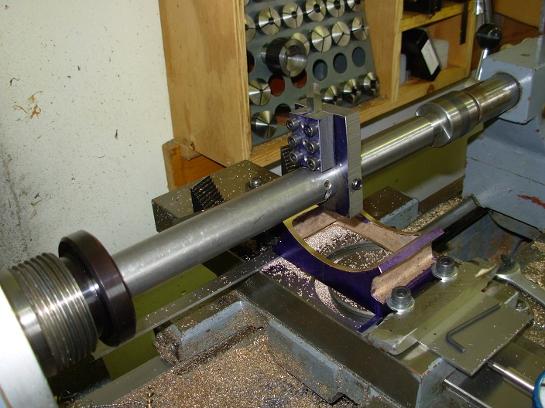
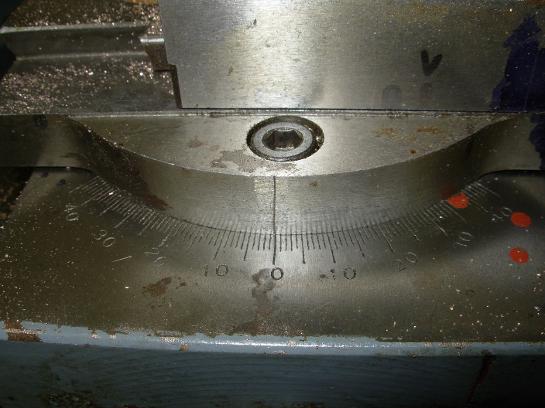
Smoke box radius being machined with boring bar tuned between centers.
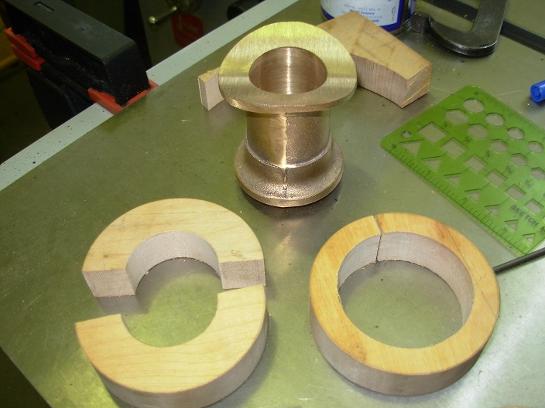
Split wooden jigs for boring the smoke stack.
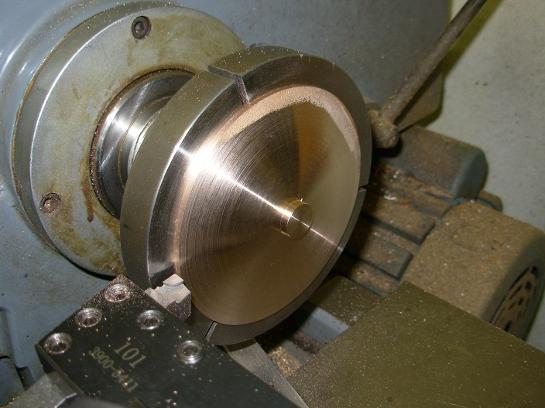
The smoke box door radius being machined.
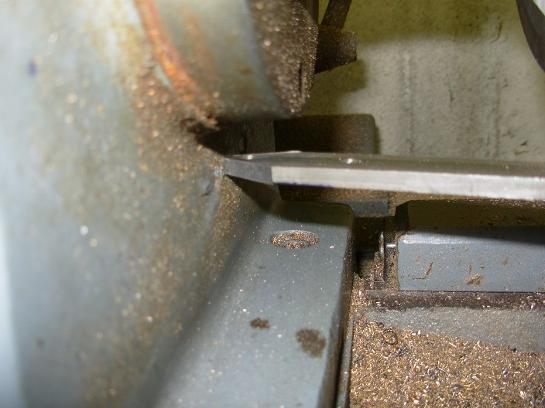
The "pointy" end of the bar bears against the head stock while the tool traverses laterally.
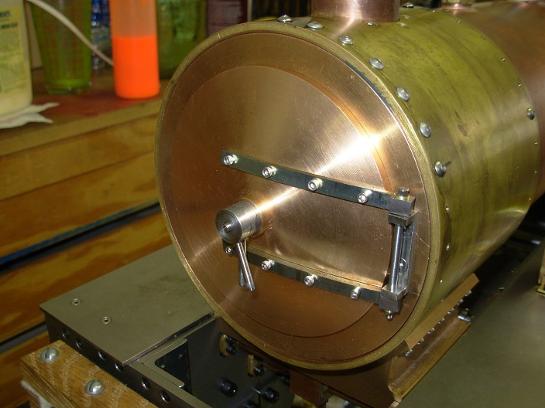
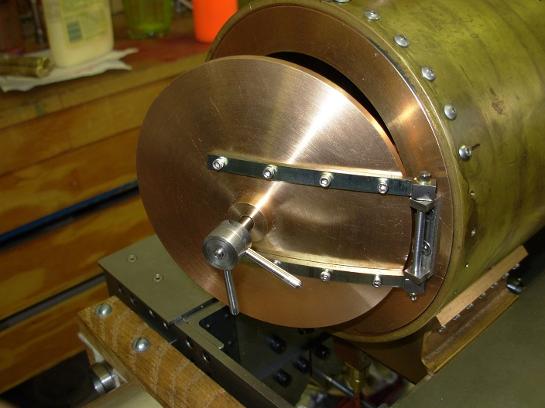
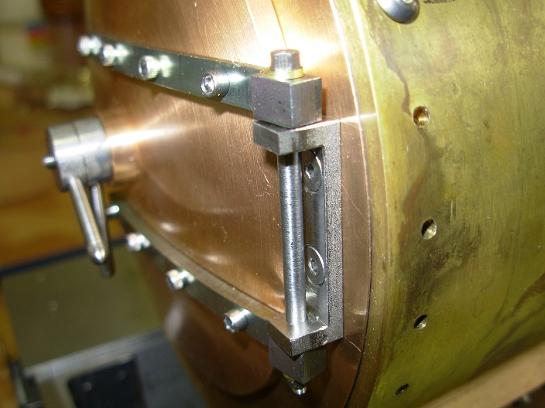
The finished door, hinges and latch all in place.