Plates & Tubes - 1
Following, is the procedure I followed for forming and silver soldering the plates and tubes of the boiler. Also shown. is the installation of the assorted threaded bushings that will hold the many different fittings. The bushings are made from a cast piece of Gunmetal, or Bronze. This material was supplied from Blackgates. Phospher bronze could also be used instead. Do not use brass for any bushing soldered into the boiler due to the presence of zinc. All of the stays and threaded fasteners for holding things together during the solder process were either bronze or copper.
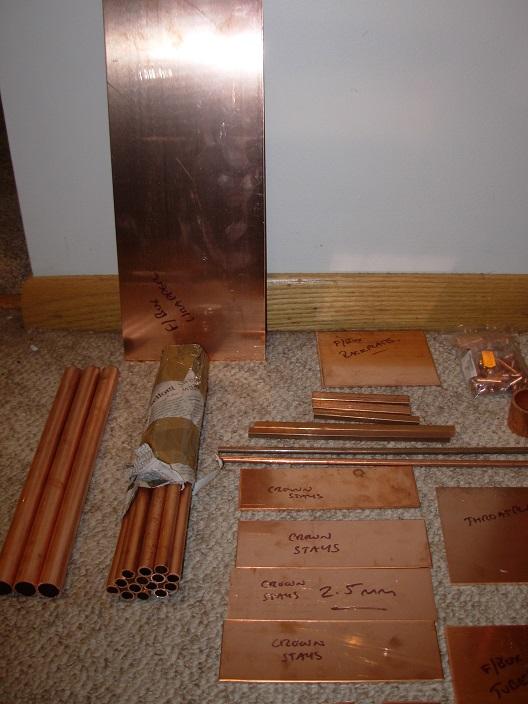
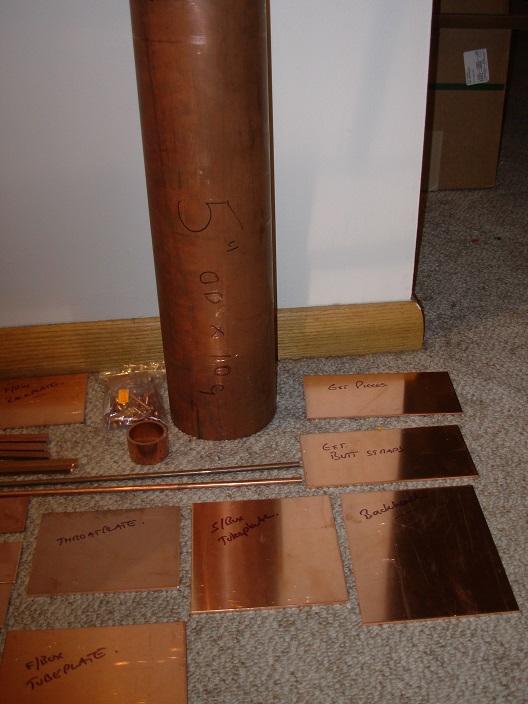
Here's the boiler kit as received from Blackgates.
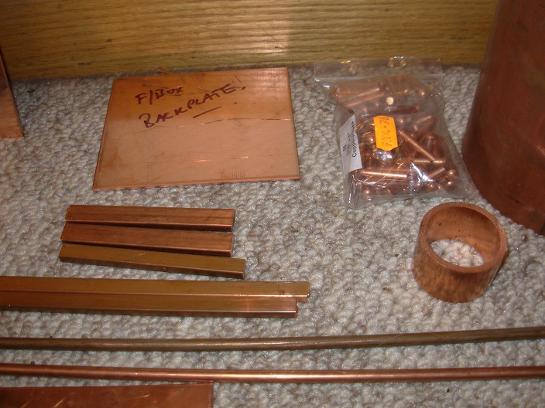
There is enough material for everything.
Then, the boiler tube had to be cut length wise. It was also cut cross wise. For a pictorial on flanging a plate, there is a section dedicated to that only.
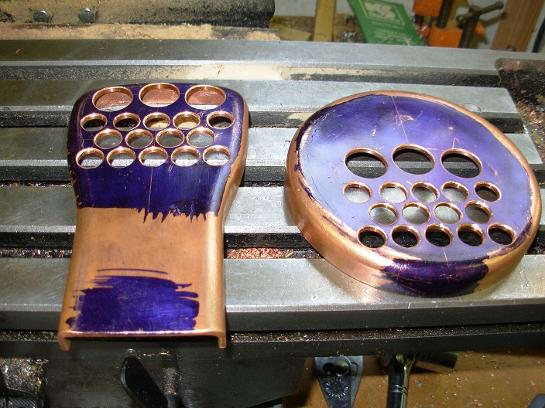
Here are the smoke box tube sheet and the fire box tube sheet. They have the same hole pattern.
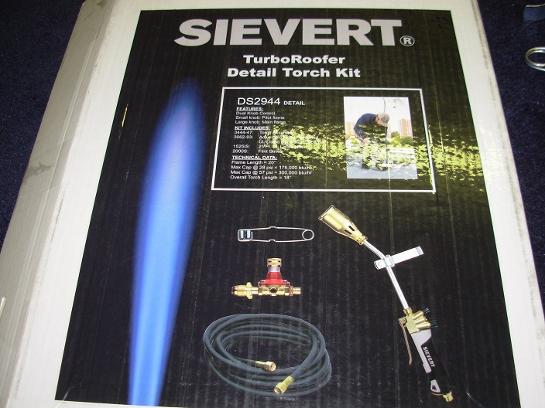
Here is the torch that all of the heavy duty heating is done with.
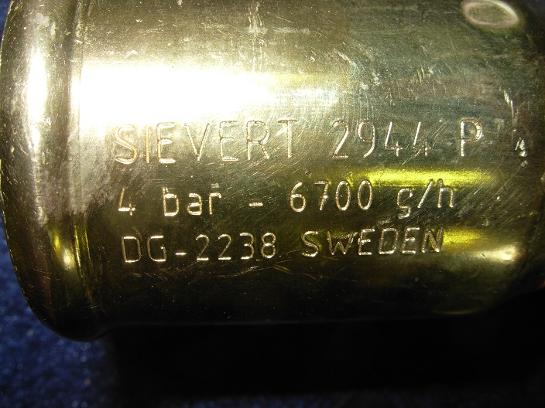
Close up of the burner head.
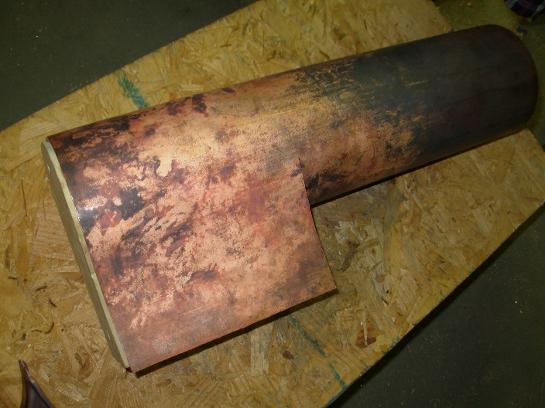
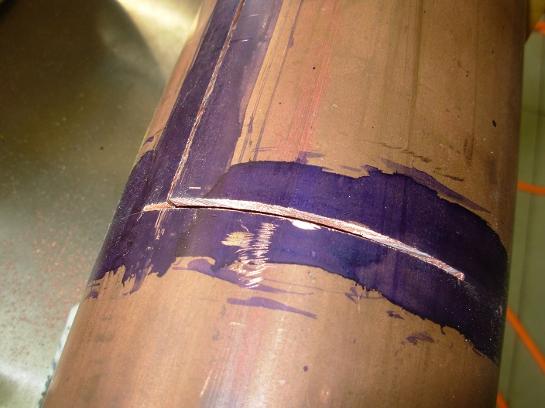
The boiler has been annealed and the material for the fire box legs is starting to take shape.
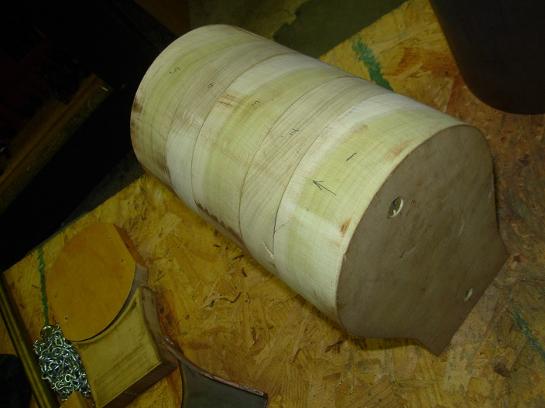
This is the wooden form for the fire box outer wrapper,
The leg with the extension is a little long and will need to be trimmed back a bit. Better too long!
Test fit of the boiler to the frames. The boiler is a little narrower than the drawing.
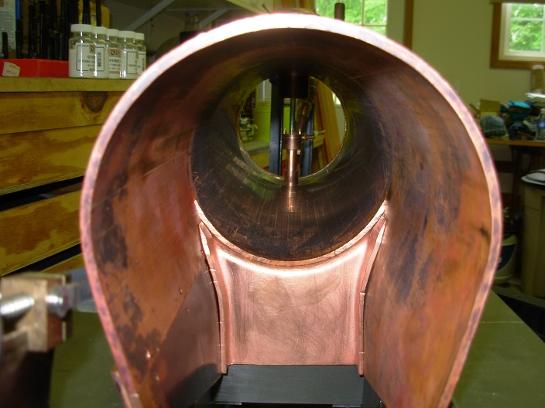
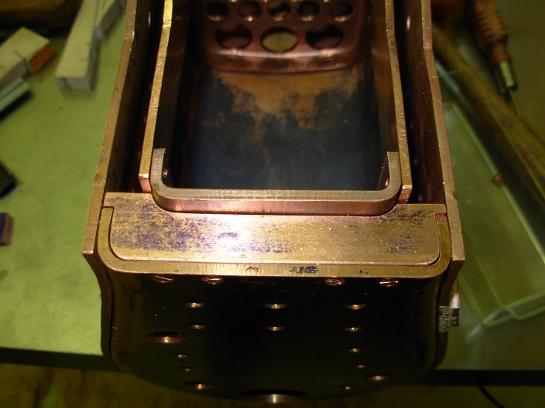
Double flanged throat plate in place.
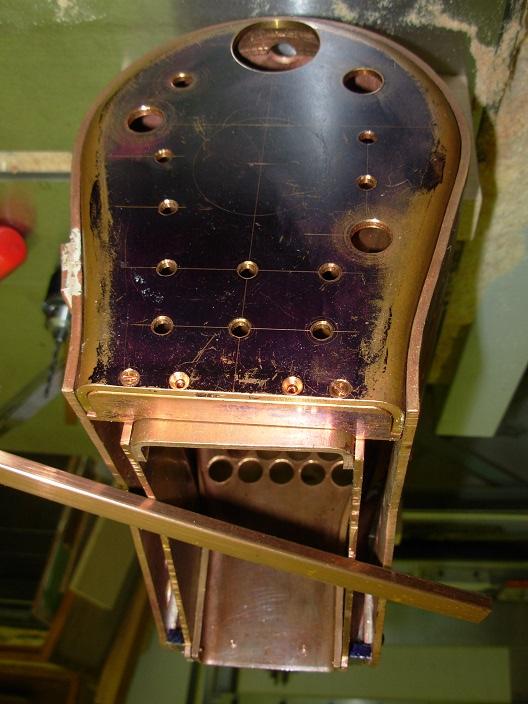
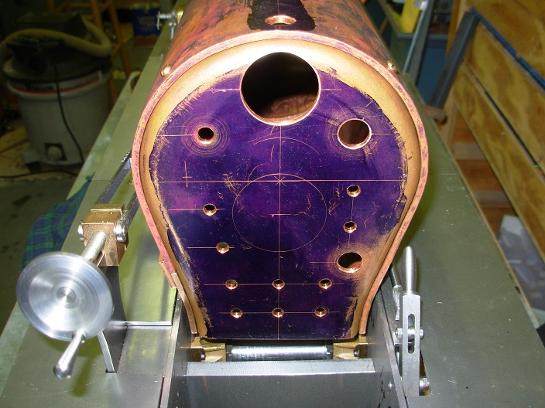
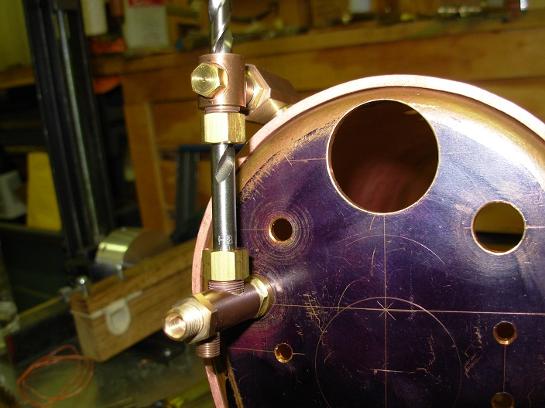
The top of the boiler is bored for several bushings.
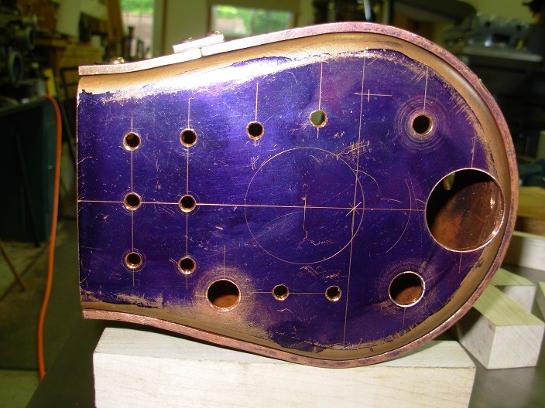
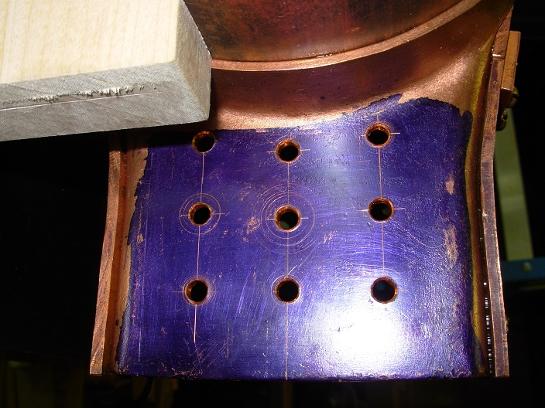
The back head has the holes for the stays drilled and the holes for the bushings are bored.
The plate for the leg extension falls nicely above the running board.
You can see the close fit of the boiler to the frame. The boiler must not touch the frames except at the expansion brackets.

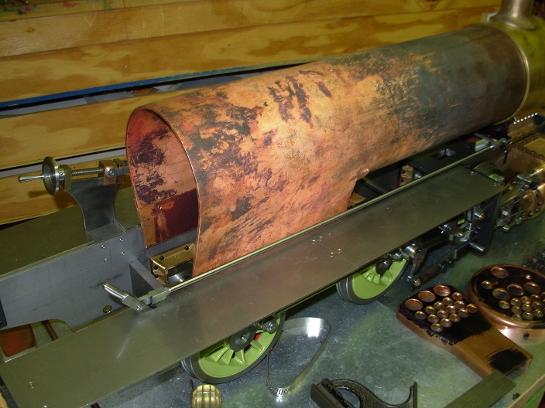
The fire box leg extension has been silver soldered in place.
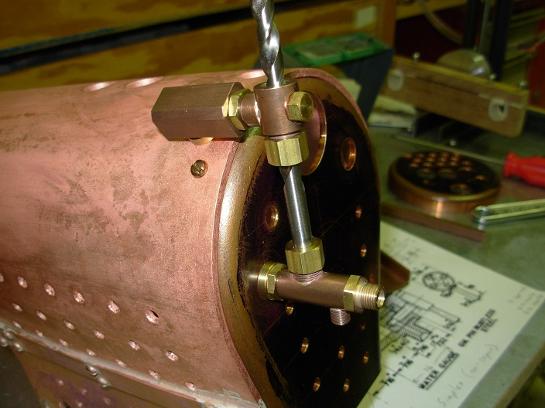
Test fit of the water gauge glass fittings. The drill bit is a "stand in" for the glass.
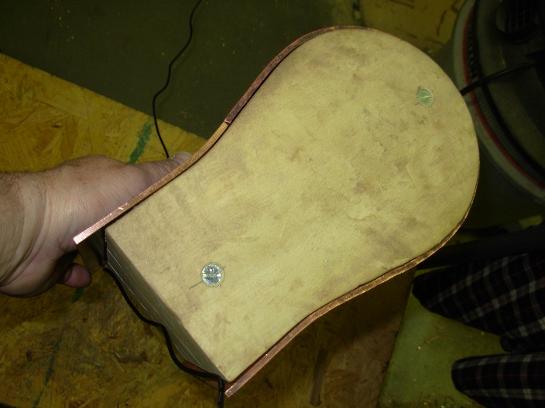
The inner wrapper of the fire is being fitted.
The fore part of the foundation ring is started. It does not fit into place yet.
Here's the aft part of the foundation ring fitted and in place.
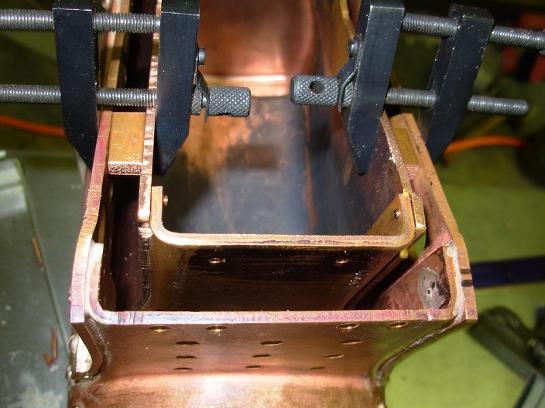
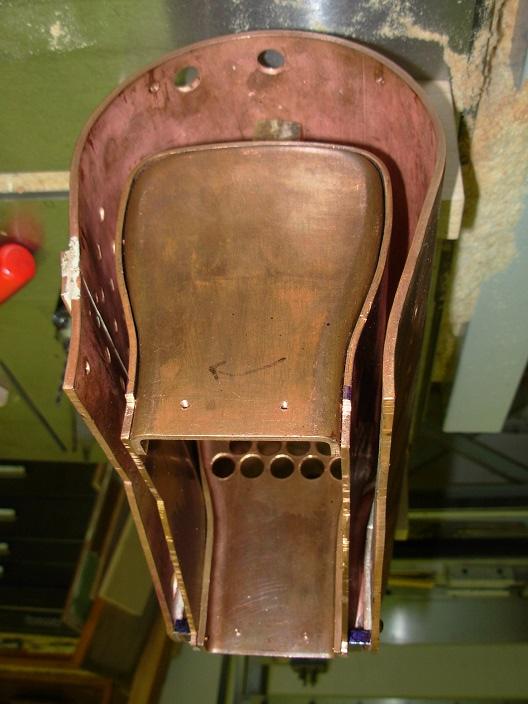
The fire boxinner wrapper is fitted to the fore and aft plates.
The fire box is fit into the boiler legs.
I purchased the kit as a"flat" and unflanged kit.
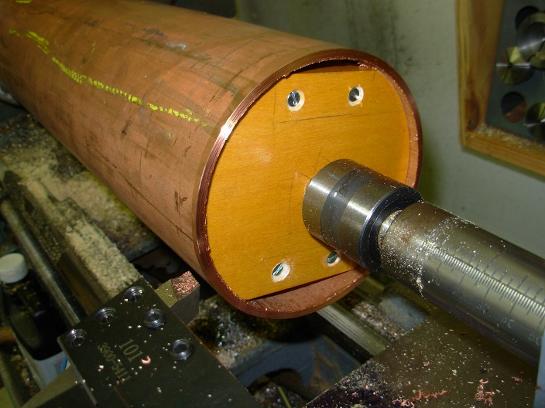
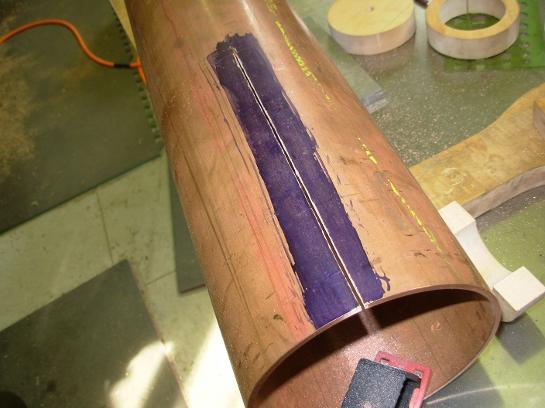
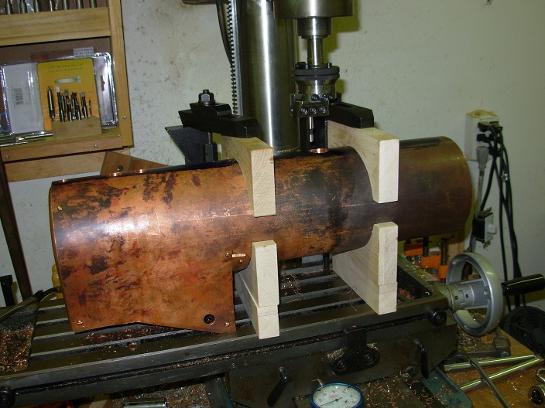
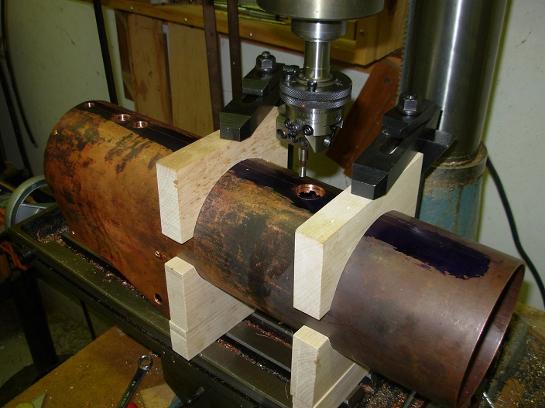
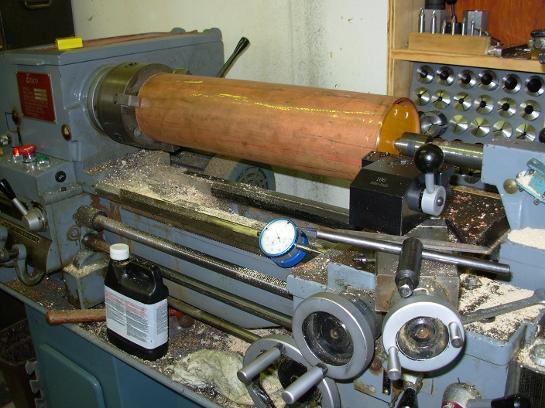
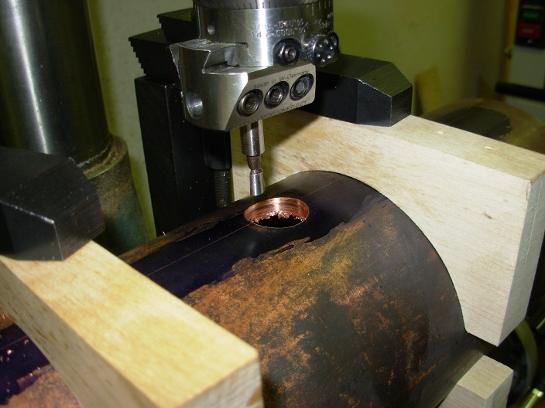
This how I machined the boiler tube to length.
This is to form the legs of the fire box. If the legs are cut unequaly, you will only have to make an extension for one side.
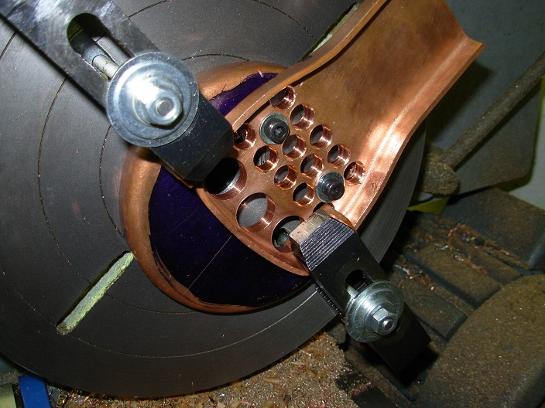
They are machined together. Boring these holes on the lathe creates a much cleaner hole than drilling and reaming to size.
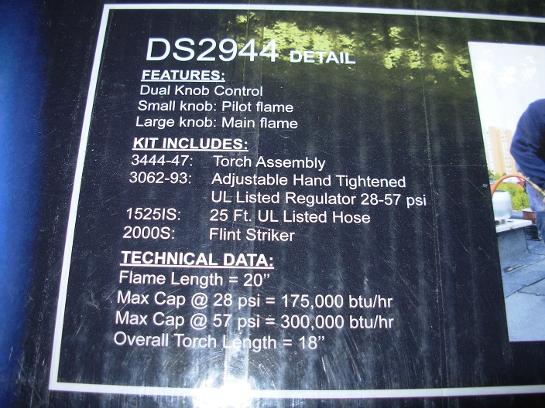
Technical data for the torch.
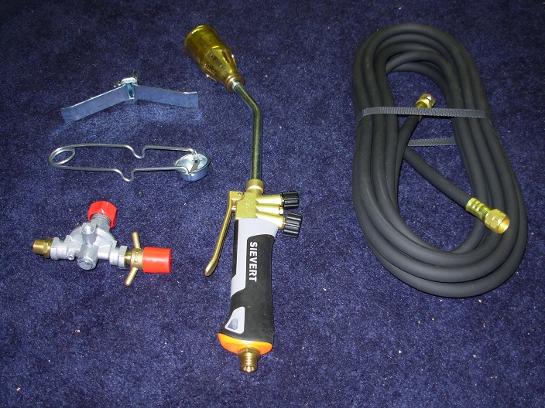
Here is everything included in the torch kit.
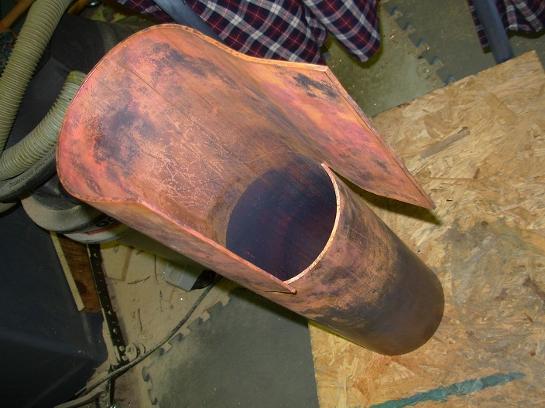
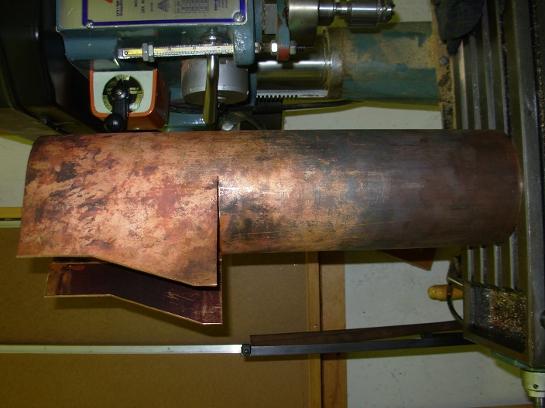
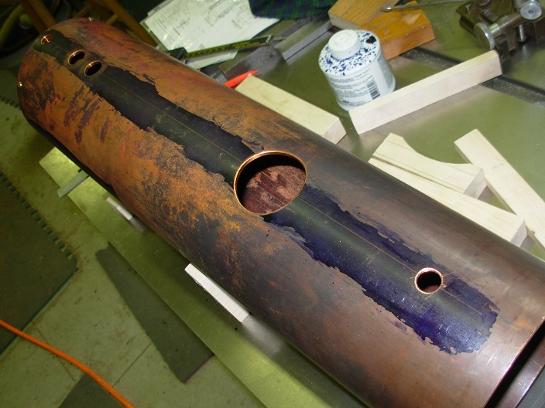
Another view down the boiler barrel. Note the unequal legs of the fire box.
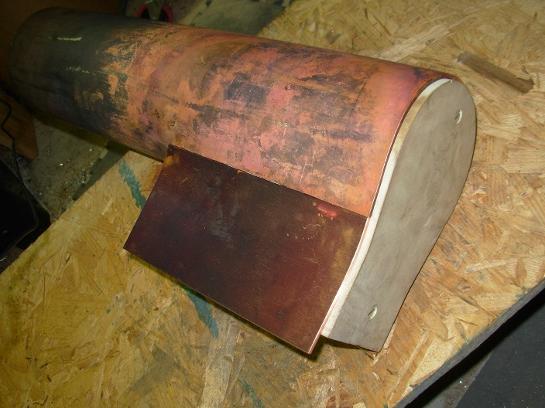
The left leg of the fire box will have the extension. The form ensures a proper shape.
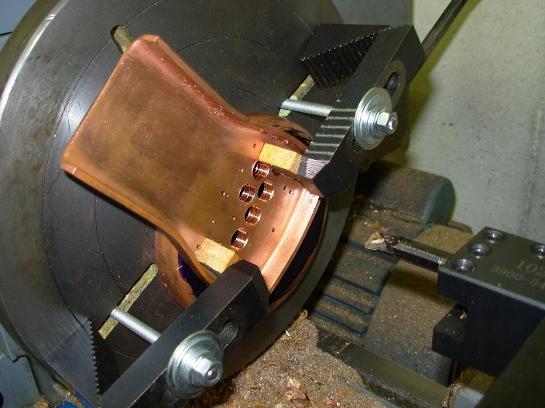
Here are the two legs of the fire box trimmed up to length and to shape.
This because the locomotive has been re-gauged from 5" to 4-3/4".
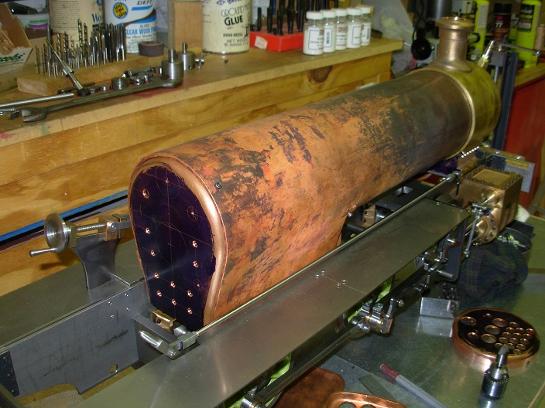
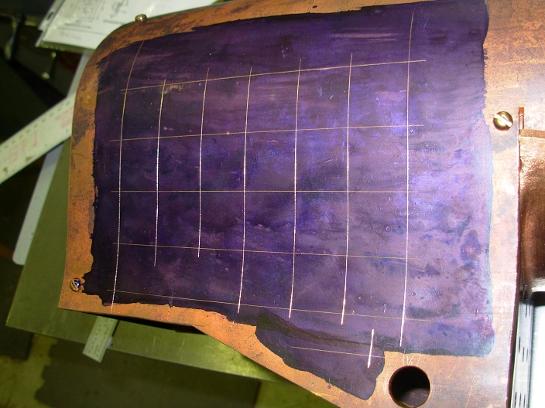
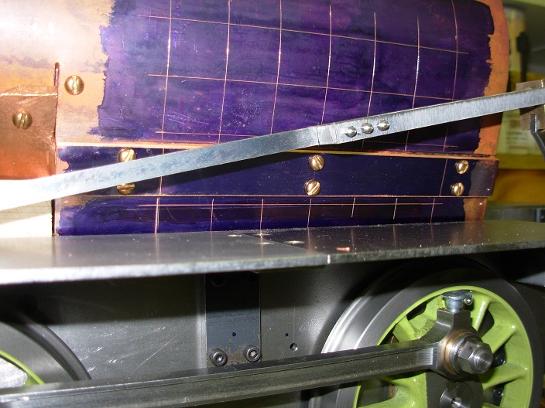
Unfinished backhead in place.
This large hole will be for the inner dome bushing.
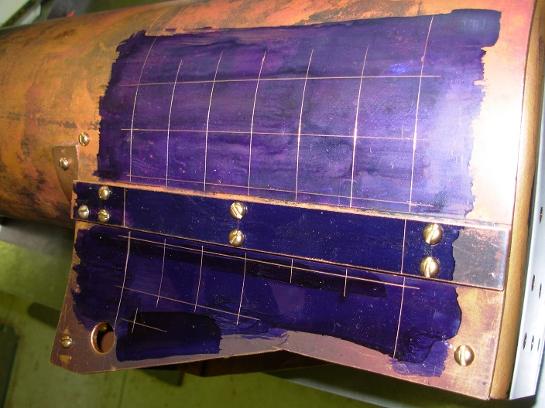
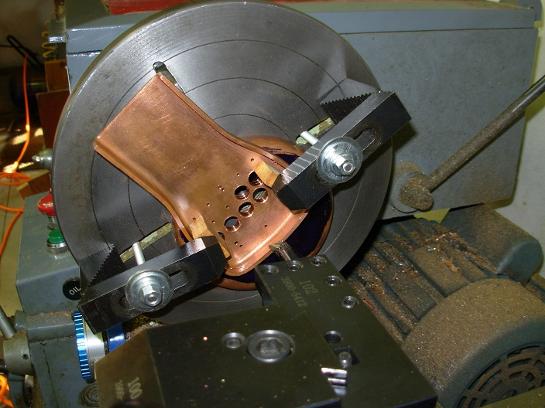
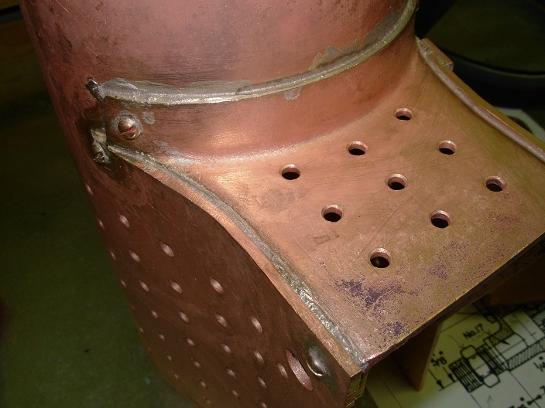
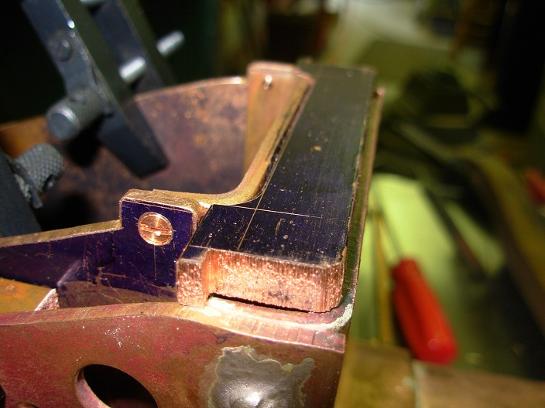
Here's the side of the fire box with the extension. The extension will be attached with a simple plate. The screws are to hold things together while it is soldered. Also, the position of the stays are layed out and the hole for the blow down bushing is already bored.
Holes for the throat plate are drilled.
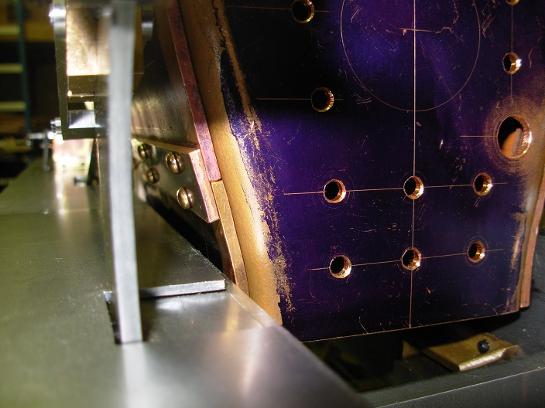
There would not be room for the extension plate below the running board. The boiler fits very closely, but, does not touch the frames.
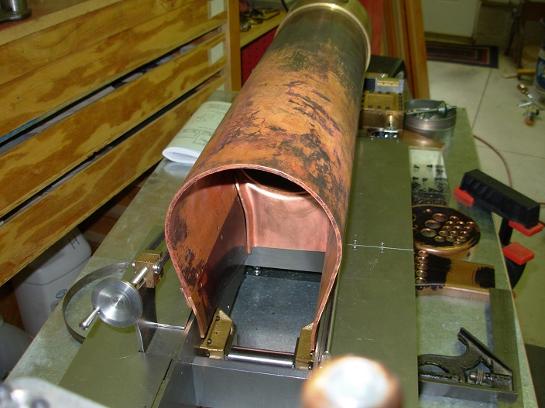
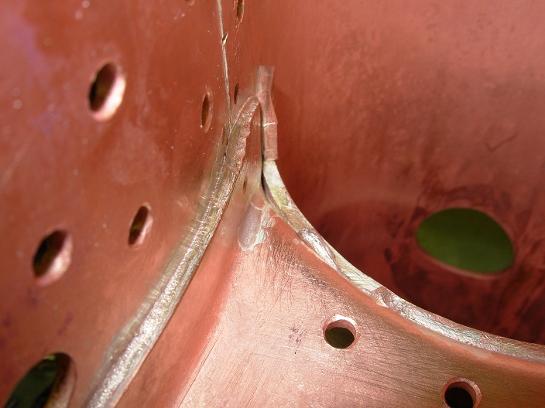
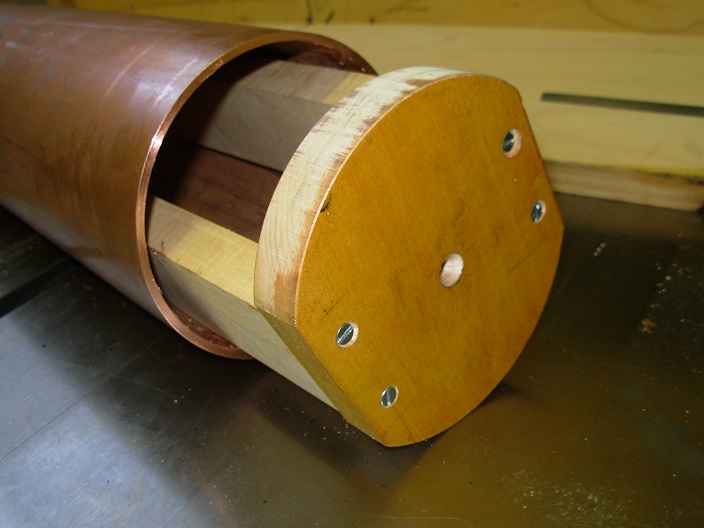
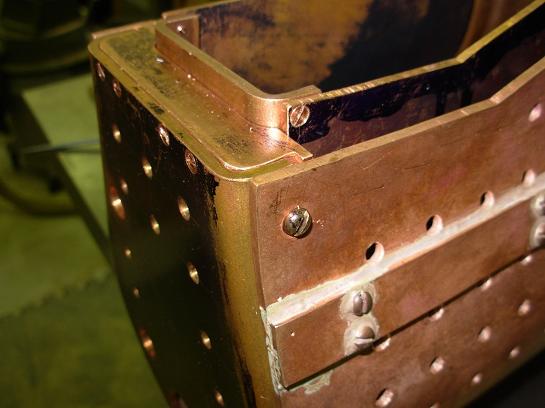
The double flanged throat plate has been silver soldered. A few bronze screws held things together while silver soldering.

Here's the inside of the double flanged throat plate for examination of the joint.
The fore and aft plates of the fire box are being fitted.
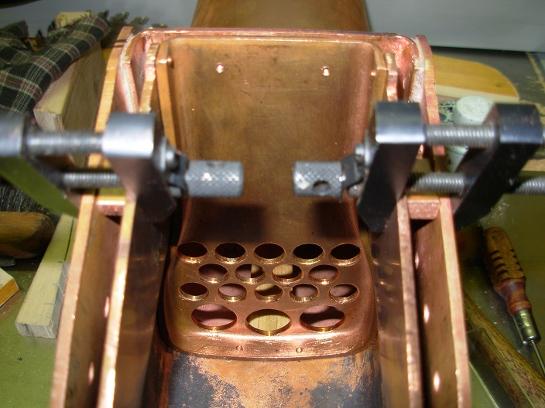
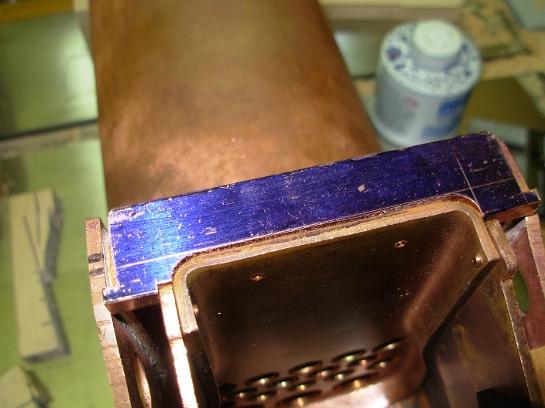
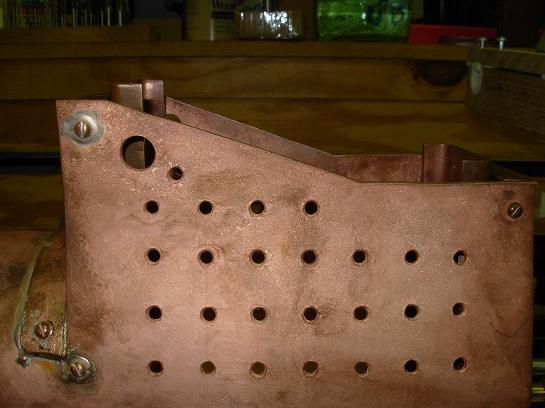
Here you can see the tube sheet of the fire box.
Here's foundation ring before it is fitted. It's just rough sawed here.
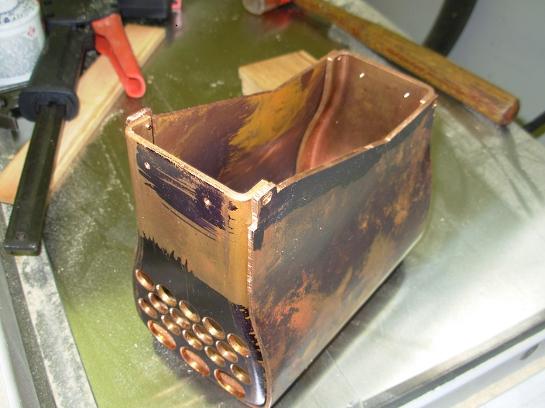
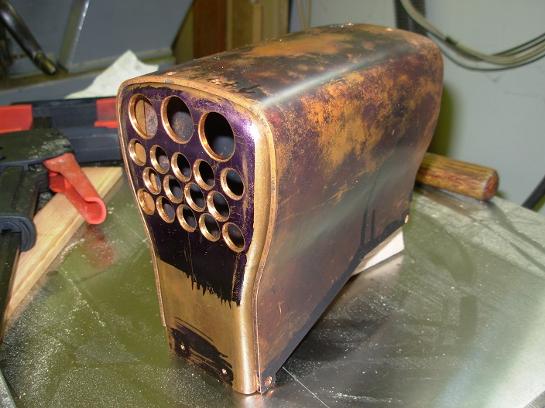
Here's a view of the fire box from the bottom.